What is a MySQL Database & Why Web Hosting Needs One
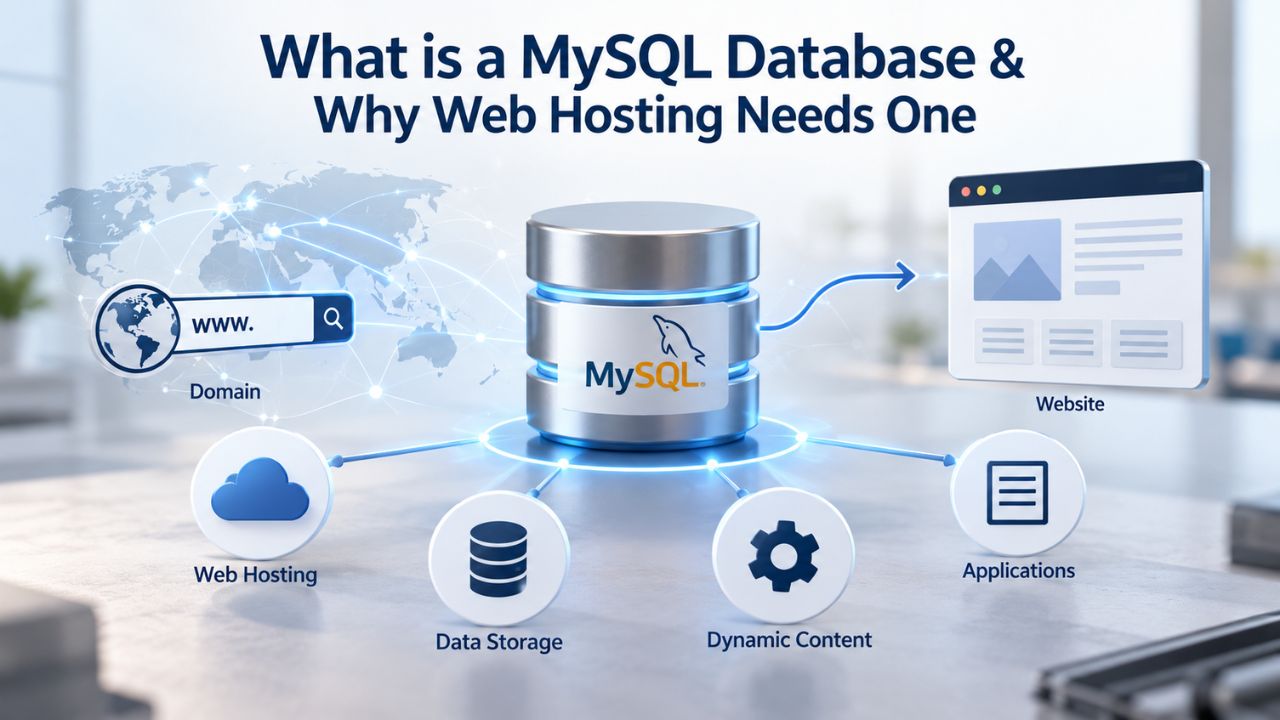
A MySQL database is the foundation of every modern web application. It stores structured information, customer records, product catalogs, blog posts, and user accounts in an organized way that applications can instantly retrieve and update. Without a database, your website would be static, unable to respond to user input or maintain changing content. When a visitor logs into an online store, submits a contact form, or reads a blog post, a database retrieves and delivers that information in real time.
Understanding Databases and Their Role
A MySQL database organizes data into tables, rows, and columns, similar to a spreadsheet, but far more powerful. Each table represents a type of information (products, customers, orders). Each row holds one record (one product, one customer). Each column holds a specific piece of information (product name, price, inventory count). This structure makes it fast and efficient to search for data, update it, and combine information from multiple tables.
WordPress relies on a database to store blog posts, comments, user accounts, and settings. WooCommerce uses a database to track products, inventory, customer orders, and payment history. Joomla, Drupal, PrestaShop, and custom PHP applications all follow the same pattern: the database is the persistent storage layer that keeps your content and functionality alive. Without a database, your website would lose all data when the server restarts.
MySQL and cPanel Web Hosting
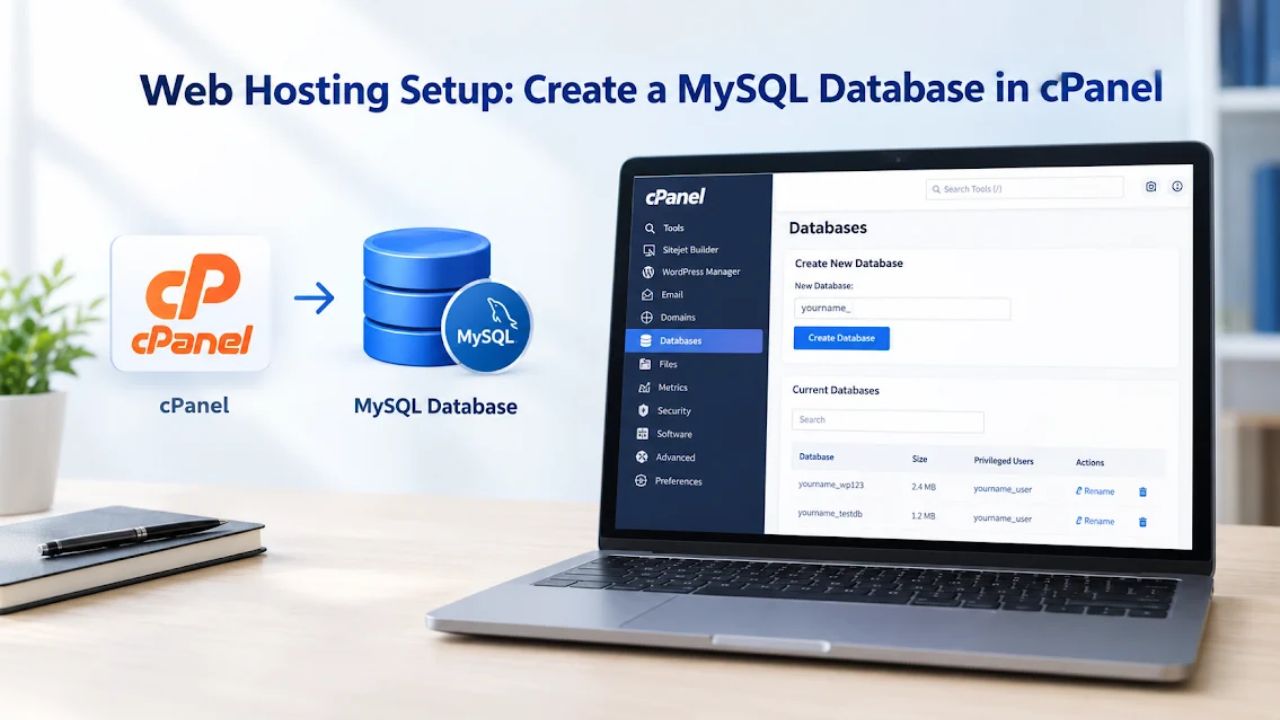
MySQL is one of the world’s most popular open-source database systems. It runs reliably on Linux servers and works with Apache and PHP, the core technologies that power most shared web hosting. cPanel, a graphical control panel for managing hosting accounts, includes a MySQL Database Wizard that creates databases without requiring command-line knowledge or SQL expertise.
cPanel abstracts away the technical complexity of database administration. You don’t write SQL commands or navigate server configuration files. You open a form in your browser, fill in a few fields, click buttons, and your database is ready to use. The Wizard guides you through naming your database, creating a user account, setting a password, and assigning permissions. Within minutes, your database is live and waiting for your application to connect.
Business Web Hosting Plans & Pricing
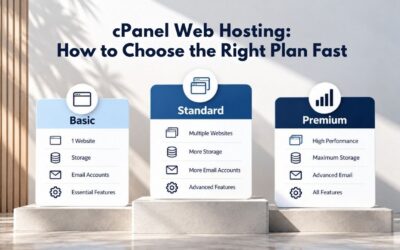
Choose the hosting plan that fits your website, WordPress site, or growing business. Compare features, storage, performance, security, and website capacity to find the right hosting environment for your needs.
cPanel Starter
cPanel Hosting that's easy, reliable and lightning-fast.
- 1 website
- 30 GB storage
- Unmetered bandwidth*

cPanel Economy
cPanel Hosting that's easy, reliable and lightning-fast.
- 1 website
- 100 GB space
- Unlimited bandwidth*
- 100 email accounts**
- 10 MySQL databases (1 GB ea.)
cPanel Deluxe
cPanel Hosting that's easy, reliable and lightning-fast.
- Unlimited websites
- Unlimited space
- Unlimited bandwidth*
- 500 email accounts
- 25 MySQL databases (1 GB ea.)
cPanel Ultimate
cPanel Hosting that's easy, reliable and lightning-fast.
- Unlimited websites
- Unlimited space
- Unlimited bandwidth*
- 1000 email accounts
- Unlimited MySQL databases (1 GB ea.)
- 2X Processing power & memory (available for Linux/cPanel only)
- Premium DNS
- 1-year SSL certificate to secure customer data and increase search rankings
*We don't limit the amount of storage and bandwidth your site can use as long as it complies with our Hosting Agreement. Should your website bandwidth or storage usage present a risk to the stability, performance or uptime of our servers, we will notify you via email and may be required to upgrade, or we may restrict the resources your website is using.
**Email account storage is limited to 100 email accounts with 100 MB of total storage.
WordPress Basic
A great way to get started.
- 1 website
- 10 GB NVMe storage
- Unmetered bandwidth
- Free SSL Certificate *
- WordPress pre-installed
- Weekly backups
- Web Application Firewall
- Daily malware scans
- One-time malware removal

WordPress Deluxe
Improve your site performance with Cloudflare CDN.
- 1 website
- 20 GB NVMe storage
- Unmetered bandwidth
- Free SSL Certificate *
- WordPress pre-installed
- Daily backups
- Web Application Firewall
- Daily malware scans
- One-time malware removal
- Up to 2x faster performance with global Cloudflare CDN **
- Enhanced security with DDoS protection
- Staging site
WordPress Ultimate
Add online marketing with more sites, storage and security.
- 1 website
- 30 GB NVMe storage
- Unmetered bandwidth
- Free SSL Certificate *
- WordPress pre-installed
- Daily + on-demand backups
- Web Application Firewall
- Daily malware scans
- Unlimited malware removal
- Up to 2x faster performance with global Cloudflare CDN **
- Enhanced security with DDoS protection
- Staging site
- WordPress code optimizer
- Smart WordPress plugin manager
- Sell online with WooCommerce
*An SSL certificate is included with every site and free for the life of the hosting plan. Certificates are automatically installed, validated and renewed.
Web Hosting Plus Launch
For multiple basic sites.
- 100 GB storage*
- 4 GB RAM
- 2 CPUs
- Unmetered traffic
- 50 websites & databases
- Free, unlimited SSL for all your websites**

Web Hosting Plus Enhance
For high-traffic WordPress, Joomla, and other sites.
- 200 GB storage*
- 8 GB RAM
- 4 CPUs
- Unmetered traffic
- 100 websites & databases
- Free, unlimited SSL for all your websites**
Web Hosting Plus Grow
For advanced eCommerce sites like Magento.
- 300 GB storage*
- 16 GB RAM
- 8 CPUs
- Unmetered traffic
- 150 websites & databases
- Free, unlimited SSL for all your websites**
Web Hosting Plus Expand
For multiple basic sites.
- 400 GB storage*
- 32 GB RAM
- 16 CPUs
- Unmetered traffic
- 200 websites & databases
- Free, unlimited SSL for all your websites**
*The total amount of usable storage capacity for your particular Hosting Service(s) may differ from the represented capacity as there is required space for the operating system(s), system file(s) and other supporting file(s).
**If you cancel the Web Hosting Plus product, you will lose the associated SSL certificate as well.
Accessing cPanel & the Database Wizard
Before you create a database, you need to access your cPanel control panel. Your hosting provider, or Niya Digital, provides a cPanel access link in your account welcome email or account dashboard. The link is typically formatted as yourdomain.com/cpanel or cpanel.yourdomain.com. Alternatively, most hosting account portals include a direct button to launch cPanel. Log in using your cPanel username and password; these are separate from your hosting account password.
Finding the Database Wizard in cPanel
Once logged into cPanel, you’ll see the cPanel Home page, a dashboard with icons organized into functional sections. Look for the Databases section in the left sidebar or middle of the page. Inside it, you’ll see an icon labeled MySQL Database Wizard. Click it to open the wizard. The interface is straightforward: a series of forms that guide you through each step of creating a database.
Some hosting accounts also offer a MySQL Databases interface for advanced users who want direct control over existing databases. Still, the Wizard is the recommended entry point for first-time users. The Wizard ensures you don’t miss any configuration steps and automatically handles permissions.
The Database Wizard’s Four-Step Setup Process
The Database Wizard walks you through exactly four steps:
(1) name your database and click Next,
(2) create a database user with a username and strong password,
(3) confirm the password, and
(4) assign privileges to that user on the database.
Each step includes helpful explanations and built-in tools. You cannot proceed to the next step until you complete the current one, so you won’t miss anything.
The entire process takes just a few minutes. After you complete step four, cPanel displays a confirmation screen with your database name, username, and a reminder to note the password. At this point, your database exists and is ready for your web application to connect.
Naming Your Database: Rules & Best Practices
Choosing a database name requires understanding how cPanel’s naming system works. The rules prevent naming conflicts across shared hosting and ensure your database names are valid in MySQL. Ignoring these rules can cause errors during setup or later when migrating databases to another host.
The cPanel Prefix System
cPanel automatically adds a prefix to every database name you create. If your cPanel username is “example,” and you enter “wordpress” as your database name, the final database name becomes “example_wordpress.” The prefix includes your cPanel username plus an underscore. This prefix is mandatory; cPanel adds it regardless of what you type in the Wizard.
This system exists because multiple hosting accounts live on the same server. The prefix ensures your database names never collide with another customer’s databases. The same principle applies to database users: a user named “wp_admin” becomes “example_wp_admin” under your account prefix. This isolation keeps databases and users separate and identifiable, even when thousands of accounts share a single server.
Character Limit: 64 Characters Total
Your full database name, prefix plus underscore plus your custom name, cannot exceed 64 characters total. Each underscore counts as two characters toward this limit due to how cPanel stores MySQL identifiers internally. If your username is eight characters, the prefix and underscore consume nine characters of your 64-character budget, leaving 55 characters for your chosen database name.
For most databases, this is plenty of room. Names like “example_wordpress,” “example_woocommerce_store,” and “example_blog_2025” fit easily. However, if you’re migrating a database from a non-cPanel server with a long name like “customer_engagement_v2_archive_2026_extended,” you may need to shorten it to stay under the limit. Planning your naming convention upfront prevents “identifier name too long” errors during import.
Forbidden Characters and Best Practices
Do not use any of these characters in your database name: forward slash (/), double quote (“), single quote (‘), or backtick (`). These characters conflict with how MySQL parses identifiers and quotes values in queries. Letters (a–z), numbers (0–9), and underscores are safe to use.
A good database name is descriptive and lowercase with underscores for readability. “example_wordpress,” “example_woocommerce_store,” and “example_member_portal” are clear and maintainable. Avoid abbreviations and cryptic names that you won’t recognize months later. If you host multiple WordPress sites, name them “example_site1_wordpress,” “example_site2_wordpress,” and so on. Clear naming saves troubleshooting time later.
Creating a Strong Database User & Password
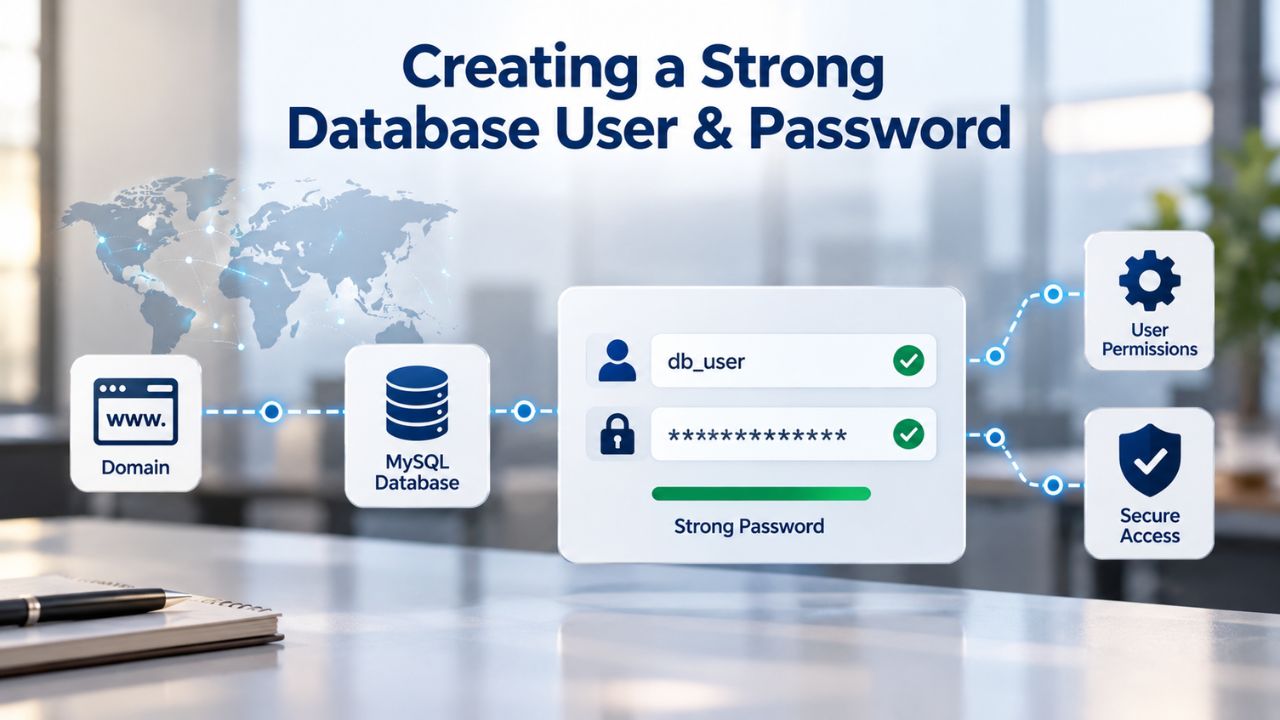
A database user is a credential pair, a username and password, that your web application uses to access the database. This user is separate from your cPanel account. Applications never know your cPanel password; they only know the database user’s credentials. This separation improves security: if an application is compromised, the attacker gains access to only that application’s database, not your entire hosting account.
Username Creation and Character Restrictions
Like your database name, the username automatically gets a prefix. If you enter “wordpress_user” as your username, it becomes “example_wordpress_user” (where “example” is your cPanel username). Usernames can contain only letters and numbers, no special characters, no spaces, no additional underscores beyond the prefix underscore that cPanel adds.
MySQL 5.7, the most common version on shared hosting, limits usernames to 32 characters including the prefix. With a nine-character prefix (“example_”), you have roughly 23 characters left for the rest of the username. Keep database usernames concise: “wpuser,” “shop_admin,” or “appuser” work well. Clear, short usernames are easier to remember and less prone to typos when you configure your application.
Setting a Strong Password with cPanel’s Tools
Your database password should be strong and difficult to guess. According to OWASP security standards, strong passwords are at least 12 characters long and include a mix of uppercase letters, lowercase letters, numbers, and special characters. The cPanel Wizard includes a Password Generator button; clicking it automatically creates a random, strong password that meets these standards.
If you create your own password, the cPanel Wizard evaluates it on a 100-point strength scale shown on screen. Some hosting providers require a minimum score before accepting the password. A random 16-character password mixing letters, numbers, and symbols is nearly unbreakable to a brute-force attack. In contrast, simple words like “password123” or “admin2025” are vulnerable. Use the generator if you’re unsure.
Storing and Protecting Database Credentials
Once you create the database user and password, write them down or save them securely. Your web application needs this username and password to connect to the database. Most applications ask for these credentials during setup through a form or configuration wizard. If you lose the password later, you can reset it through the cPanel MySQL Databases interface, but recording them upfront is easier.
Never share your database password via email, chat, or text message. If you need to provide it to a developer or team member, use a password manager or a secure file-transfer service. Store credentials securely in your account, not in comments, shared documents, or version-control repositories. The database user’s password is as sensitive as your cPanel password; protect it accordingly.
Assigning Database Privileges & Permissions
Database privileges are permissions that define what actions a user can perform on a database. Your database user might be able to read (SELECT) data, write new records (INSERT), modify existing records (UPDATE), and delete records (DELETE). It might also be able to create new tables (CREATE) or alter table structures (ALTER). Privileges prevent users from performing actions they shouldn’t; for example, an application that only reads data shouldn’t be able to delete entire tables.
ALL PRIVILEGES: Standard Assignment for Most Applications
For most web applications, WordPress, WooCommerce, Joomla, Drupal, PrestaShop, the cPanel Wizard defaults to granting “ALL PRIVILEGES.” This permission set allows the application to perform any operation it needs: creating tables during installation, reading data for display, writing new posts or orders, modifying settings, and managing internal data structures. ALL PRIVILEGES is the broadest permission level available.
ALL PRIVILEGES is convenient and works out of the box for standard applications. Most web applications don’t function correctly with restricted permissions; they need to create tables, alter columns, and manage internal data as part of their normal operation. The GoDaddy and cPanel documentation recommends ALL PRIVILEGES for most users because it prevents permission-related errors that can break your application during setup or after upgrades.
Least Privilege: The More Secure Approach
The most secure approach is the principle of least privilege: grant only the permissions a user absolutely needs to function. For a read-only reporting application, you might grant only SELECT (read permission). For a custom application, you might grant SELECT, INSERT, and UPDATE permissions but deny DELETE and ALTER, so accidental or malicious code can’t drop entire tables.
However, implementing least privilege requires a deep understanding of your application’s permission requirements, something most site owners don’t track. Industry security best practices recommend least privilege. Still, it’s often impractical for evolving standard applications. For shared hosting and standard CMS platforms, ALL PRIVILEGES remains the industry default. If you build custom applications, work with your developer to define minimal permissions and test them thoroughly before deploying to production.
Start Hosting Your Database-Driven Website
Creating a MySQL database on Niya Digital’s cPanel Web Hosting takes just a few minutes once you understand the process. The Database Wizard automatically handles naming, user creation, password strength, and privilege assignment. From there, you connect your application, and you’re live and running. Niya Digital’s 24/7 support team is available if you hit any snags during setup or later as your database grows.
Security Fundamentals for Database Users
Creating a strong password and assigning appropriate privileges are essential first steps. Broader security practices protect your data further against compromise, accidental damage, and unauthorized access. Understanding these fundamentals helps you design a secure database architecture for your hosting account.
Avoid Root Access for Routine Operations
The MySQL root account has absolute control over all databases on your server. Root can create, modify, or delete any database and any user. Using root credentials for everyday queries or installing applications is dangerous; if root credentials leak or an attacker gains access, they gain access to every database on the server, not just yours. Your hosting provider’s server administrators use root for server management only.
On shared hosting, you should never need root access. Always use dedicated database users with limited access to only the databases they need. Your hosting provider has already configured root access and server-level security. Your job is to create user accounts with the minimum permissions each application needs, keeping root away from everyday operations.
Unique Database User Per Application
A strong security practice is creating a dedicated database user for each web application running in your hosting account. If you host WordPress, WooCommerce, and a custom PHP app, create three separate database users, each with access only to its respective database. If a WordPress plugin is compromised and its database credentials leak, the attacker accesses only the WordPress database, not WooCommerce inventory or your custom app’s sensitive data.
This isolation principle minimizes damage from a single compromised application. It also simplifies access control: when you remove an application, delete its corresponding database user and permanently revoke its access. A forgotten user account with old credentials is a dormant security hole. By tying users to applications, you can audit your accounts and clean up old entries without accidentally blocking a live application.
Auditing Unused Accounts and Removing Legacy Access
Over time, old applications stop running, but their database users linger, forgotten, with live credentials. Unused accounts create security vulnerabilities because they represent persistent access points that no longer serve a business purpose. Regularly review your MySQL Databases interface and delete users that no longer serve an active application. Document which user belongs to which app so you don’t accidentally delete a live account.
A simple maintenance routine, quarterly review of active applications and their database users, keeps your hosting account secure. When you delete an application, delete its database user in the same operation. This practice keeps your hosting account clean and provides an auditable list of active credentials tied to active applications.
Database Resource Limits on Hosting Plans
Different Niya Digital cPanel Web Hosting plans come with different database allowances and resources. Understanding these limits helps you choose the right plan initially and plan upgrades before you run out of resources. Most hosting providers can increase allocations if you need more, but proactive planning prevents service interruptions.
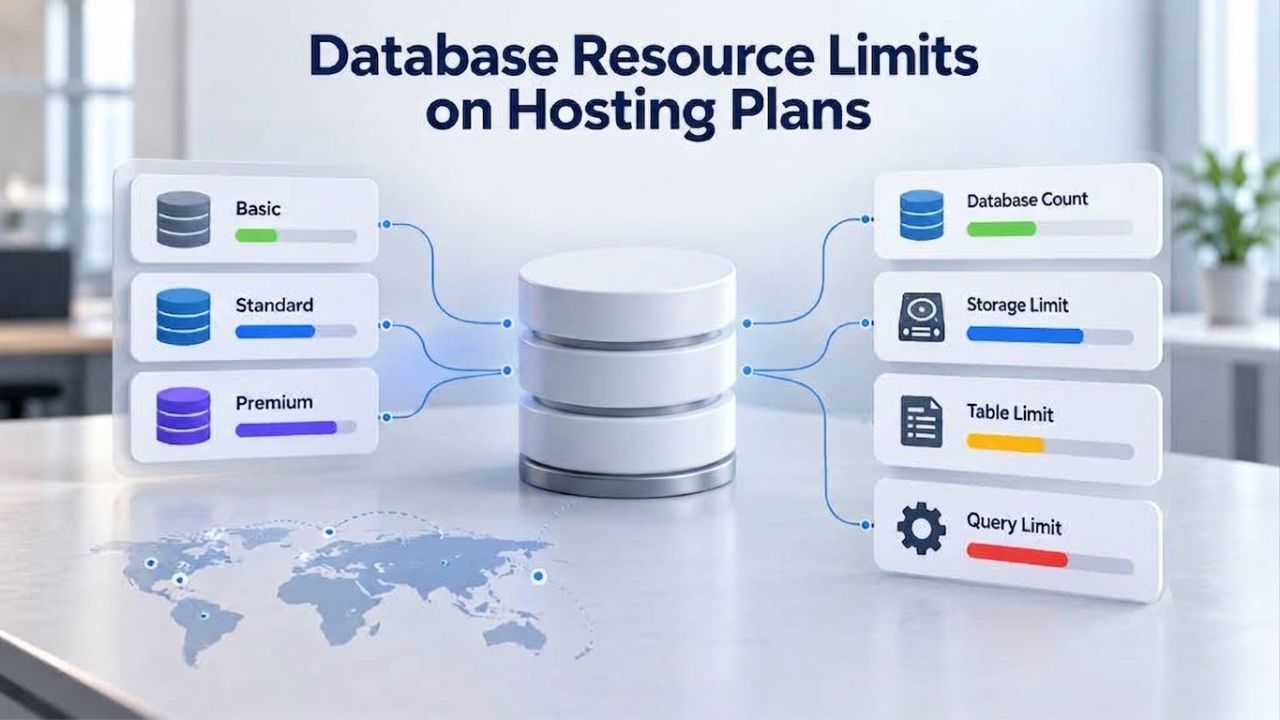
Plan Comparison: Database Allocations and Features
| Feature | cPanel Starter | cPanel Economy | cPanel Deluxe | cPanel Ultimate |
|---|---|---|---|---|
| Websites | 1 | 1 | Unlimited | Unlimited |
| Storage | 30 GB | 100 GB | Unlimited | Unlimited |
| Bandwidth | Unmetered | Unlimited | Unlimited | Unlimited |
| Email Accounts | — | 100 | 500 | 1,000 |
| MySQL Databases | 0 | 10 | 25 | Unlimited |
| Storage per Database | — | 1 GB | 1 GB | 1 GB |
| Processing Power | Standard | Standard | Standard | 2X |
Each database is allocated 1 GB of storage by default. For most small to medium websites, 1 GB is sufficient. A typical WordPress blog with thousands of posts uses 100–500 MB. A WooCommerce store with hundreds of products typically uses 200–800 MB. Database size grows slowly as you add content, but with regular maintenance, you can stay well within the 1 GB limit for years.
Choosing the Right Plan for Your Database Needs
If you’re on the cPanel Economy plan and need more than 10 databases, upgrade to Deluxe or Ultimate. If you host multiple production websites, each with its own database and potentially multiple staging or test databases, you’ll likely exhaust the Economy allowance quickly. Niya Digital’s support team can assist with plan changes without downtime; you can upgrade anytime your needs grow.
For agencies hosting multiple client sites, the Deluxe or Ultimate plans make sense from the start. Each client site typically needs its own WordPress, WooCommerce, or custom application database. As your client roster grows, unlimited databases give you flexibility to scale without requesting upgrades. Proactive planning prevents the frustration of hitting database limits and being unable to add a new client site.
Connecting Your Application to the Database
Once you create your database and user, your web application needs to know how to find and access them. Every application has a setup page or configuration file where you enter database connection details. This is a straightforward process for most applications, and the Wizard provides all the information you need.
Required Connection Information
Your application asks for four pieces of information during setup or in a configuration file: the database name (including prefix), the database username (including prefix), the password, and the host. The host is always “localhost” for shared hosting because the database server lives on the same machine as your web application. Your application communicates with the database through localhost, not your domain name or an external IP address.
For example, if your cPanel username is “example,” you create a database named “wordpress” (which becomes “example_wordpress”), a user “wpuser” (which becomes “example_wpuser”), and a password “MySecurePassword123!”. During WordPress setup, you enter: Database Name: “example_wordpress”, Username: “example_wpuser”, Password: “MySecurePassword123!”, Host: “localhost”. WordPress stores these in wp-config.php and uses them every time it needs to read or write data.
Application Setup and Configuration Files
WordPress stores database connection information in wp-config.php, a file in your WordPress root directory. During WordPress setup, you paste your credentials into a form, and WordPress automatically writes them to wp-config.php. Joomla, Drupal, PrestaShop, and custom PHP applications follow a similar pattern: setup wizard, enter credentials, application stores them in a configuration file.
Never hardcode credentials into multiple files, share them in plain text, or commit them to version-control repositories. Store application configuration files securely and protect them from public access. Most hosting providers secure these files by default, but never expose them through your website or store duplicates in insecure locations.
Testing the Database Connection
Most applications test the database connection during setup. If credentials are wrong, the setup wizard displays an error message like “Error connecting to database” or “Access denied for user ‘example_wpuser’@’localhost'”. Common causes are typos in usernames or passwords, or selecting the wrong database user. If setup completes successfully, the connection is good. If you encounter connection errors later, double-check that you’ve entered the exact credentials in your application’s configuration; typos cause “access denied” errors.
Managing Databases with phpMyAdmin
cPanel includes phpMyAdmin, a web-based graphical tool for directly managing your MySQL databases. You don’t need the command line or SQL code to do common database tasks. phpMyAdmin provides a point-and-click interface to back up databases, import data, create tables, run SQL queries, and explore your data structure.
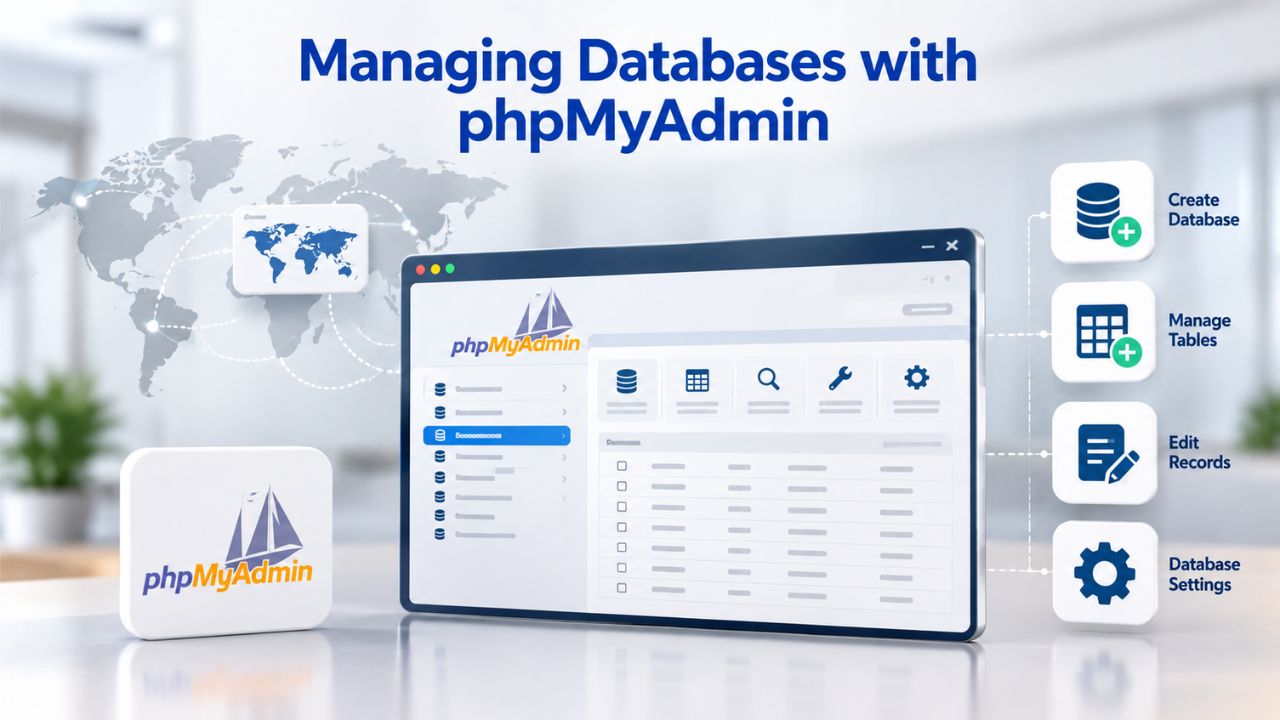
Accessing phpMyAdmin and Viewing Your Databases
From the cPanel Home page, locate the Databases section and click phpMyAdmin. You’re logged in automatically using your cPanel credentials; no additional login is required. On the left sidebar, you can see all databases in your account listed by name. Click on a database name to explore its tables, columns, and data. The main panel displays detailed information about whichever database or table you select.
phpMyAdmin’s interface is intuitive for non-technical users. Expand a database to see its tables. Click a table to view the data inside. Use the toolbar to perform common actions: browse, insert, edit, export, or delete data. For developers, phpMyAdmin also provides a SQL query interface where you can type custom SQL commands, but for most users, the GUI tools are sufficient.
Exporting (Backing Up) Your Database
Click on a database name in phpMyAdmin, then find the Export button in the top toolbar. phpMyAdmin exports the entire database as a SQL file (.sql), which is a text file containing all the SQL commands needed to recreate the database and its data. Download this file and save it to your computer. If something goes wrong- data corruption, accidental deletion, malware- you can restore from this backup.
Most hosting providers, including Niya Digital, offer automatic daily backups stored on their servers. However, having your own copy is an extra layer of protection and control. Weekly manual exports of critical databases ensure you have multiple backup copies in your own secure location, protected against server-level disasters or hosting provider incidents.
Importing Data into a Database
If you’re migrating from another hosting provider, you’ll have a SQL file from your old host. Click Import in phpMyAdmin, select your SQL file from your computer, and phpMyAdmin reconstructs your database from the file. The import process can take a few minutes for large databases. phpMyAdmin displays progress and alerts you when the import completes or if errors occur.
If the import fails with a “database name too long” or “identifier name too long” error, the original database name, plus cPanel’s prefix, exceeds MySQL’s 64-character identifier limit. You’ll need to either shorten the database name in the SQL file before importing or split the database into smaller chunks. This issue is rare for most sites but important to understand if you’re migrating between hosting providers.
Troubleshooting & Common Database Errors
Even with careful setup, issues sometimes arise. Understanding the most frequent problems and their solutions saves time and reduces frustration. Most database errors are easy to resolve by checking credentials, permissions, and database names.
Error: “Database Already Exists”
This error means your chosen database name conflicts with an existing database on the server. cPanel enforces unique database names across its entire hosting infrastructure; two customers cannot both have a database named “wordpress” (even with different prefixes, the full names must be globally unique). Solution: Go back to the Database Wizard and choose a different name. Add a number, date, or more descriptive suffix, “example_wordpress_blog” or “example_shop_v2” instead of just “example_wordpress.”
This error typically occurs if you’re re-creating a database after deletion and accidentally use the same name before DNS caching clears. Alternatively, you may have mistyped the name in the Wizard and created it twice. Check your MySQL Databases interface to see all existing databases and choose a name that doesn’t conflict.
Error: “Access Denied” When Connecting
Your application can’t log into the database with the credentials provided. Common causes include a typo in the username or password (most common), the database user not having permissions on this specific database, or the user being deleted. Check your credentials carefully; usernames and passwords are case-sensitive. Verify in phpMyAdmin that the user exists and has privileges on the target database. If still stuck, reset the password through the cPanel MySQL Databases interface and update your application’s configuration file immediately.
If resetting the password and updating the configuration doesn’t work, verify that your application is connecting to the correct database name (with prefix). “Access denied” typically means authentication failed; a wrong database name would produce a different error.
Error: “Identifier Name Too Long”
This error occurs during database imports when the original database name, plus cPanel’s prefix, exceeds 64 characters. Shorten the database name before importing. For example, change “acmecorp_customer_engagement_v2_archive_2026_extended” to “acmecorp_customer_v2_2026_arch.” The application doesn’t care about the database name’s length; it only needs a valid name it can connect to. Shorter names are easier to remember and manage anyway.
To fix this, edit the SQL file with a text editor, find all occurrences of the long database name, and replace them with a shorter version. Save the edited file and import it into cPanel. Alternatively, ask your old hosting provider for an export with a shorter database name already configured.
Slow Database Performance
If queries slow down over time, you may need to optimize the database. Old WordPress post revisions, spam comments, temporary data, and accumulated junk bloat tables and slow queries. Use phpMyAdmin’s Optimize function (right-click a table and select Optimize) to reclaim space and improve performance. Or install a WordPress plugin like WP-Optimize to automate cleanup. Back up regularly, clean old data, and review your database size in phpMyAdmin.
Niya Digital’s team has found that regular database maintenance, deleting unused accounts, archiving old data, and running optimization routines keeps databases performing reliably as they grow. A properly maintained database often performs faster and more efficiently for years than one left untouched.
Ready to Set Up Your Database and Launch
Setting up a MySQL database is the first step toward building a dynamic, interactive website. Whether you’re starting a WordPress blog, launching an online store, or hosting a membership site, a database makes it all possible. Niya Digital’s cPanel Web Hosting gives you the tools, infrastructure, and support you need to manage databases securely and reliably. Get started today with one-click app installers and built-in database management.
Frequently Asked Questions
How many databases can I create on my hosting plan?
It depends on your plan. cPanel Economy includes 10 databases, cPanel Deluxe includes 25, and cPanel Ultimate includes unlimited databases. Each database is allocated 1 GB of storage by default. Contact Niya Digital’s support if you need additional storage or want to upgrade your plan.
What’s the difference between a database and a database user?
A database is the container that holds your data, tables, rows, columns, and all the information your application stores. A database user is a credential pair (username and password) that applications use to access the database. You can create one database with multiple users if needed, though best practice is one user per application.
Can I use a different password for each database user?
Yes, absolutely. Each database user has its own independent password. This isolation means if one application’s credentials leak, the others remain secure. Always use a different, strong password for each database user to minimize the damage from a single compromised credential.
What if I exceed my database storage limit?
If a database grows beyond 1 GB, you can request additional storage from Niya Digital. Alternatively, you can clean up the database by deleting old data (WordPress revisions, spam, logs) or move to a higher hosting plan with more resources. Regular backups and maintenance keep databases lean.
Is localhost the same as my domain name?
No, they’re different. “Localhost” refers to the same machine your website files run on. Your domain name is the address visitors type in their browser. Applications access the database through localhost, not your domain, because both live on the same server.
Can I access my database from outside the server?
On shared hosting, typically no. cPanel restricts remote database access by default for security; external connections could expose your database to attack. If you need remote access, contact Niya Digital support or upgrade to a VPS plan where you have more control over access rules.
What happens if I delete a database user?
That user can no longer access the database. Any application using that username and password will fail with an “access denied” error. Only delete users you’re certain are no longer in use. Always back up your database before making destructive changes.
How do I change a database user’s password?
In cPanel, go to MySQL Databases, find the user in the list, and use the “Change Password” option. Update the password in your application’s configuration file immediately after, or the app will lose access until you update it.
Do I need to back up my database?
Yes, regular backups are essential. Use phpMyAdmin’s Export function regularly, enable automatic backups through your hosting provider, or both. Backups protect against data loss from accidental deletion, malware, server failure, or human error.
Can two applications share the same database?
Technically yes, but it’s not recommended. Shared databases can cause conflicts, security risks, and data confusion. Create a separate database for each application unless they’re specifically designed to work together.
What’s the maximum size a database can grow to?
Technically, MySQL can handle very large databases. On shared hosting, you’re limited by your plan’s storage allocation (1 GB per database) and your account’s total disk space. If you outgrow shared hosting limits, upgrade to Niya Digital’s VPS hosting for more resources.
Is my database encrypted?
Standard cPanel shared hosting doesn’t encrypt databases at rest by default. If you store sensitive customer data (credit cards, health information, personal records), ask Niya Digital about encryption options or consider VPS hosting where you have more control over security settings.
How do I migrate a database to another host?
Export it as a SQL file via phpMyAdmin on your current host, then import it on your new host using the new host’s phpMyAdmin or Database Wizard. If the new host is also cPanel-based, watch out for the character-limit issue: keep database names short to avoid “identifier too long” errors during import.
Can I run SQL queries directly in phpMyAdmin?
Yes. phpMyAdmin includes a SQL query interface where you can type custom MySQL commands. Click the SQL tab in phpMyAdmin to access the query editor. For most users, the graphical tools are sufficient, but this interface is available for developers who need it.
What database backup strategy should I use?
Best practice is multiple layers:
(1) enable automatic daily backups through your hosting provider,
(2) export critical databases weekly via phpMyAdmin and store them locally, and
(3) keep at least one month of historical backups. This strategy protects against a single point of failure.
Glossary
- cPanel: A web-based control panel that gives hosting account owners graphical access to management functions: create and manage files, email, databases, domains, and security settings without using the command line.
- Database: A structured collection of data organized into tables, rows, and columns. Each table represents a type of information, each row is one record, and each column is a specific field of information within that record.
- Database User: A username and password pair that web applications use to log into and access a specific database. Separate from your hosting account credentials, database users grant applications the access they need without exposing full account privileges.
- Least Privilege: A security principle in which users are granted only the minimum permissions needed to perform their assigned tasks. Applied to databases, it means a user gets only the specific permissions (SELECT, INSERT, UPDATE) their application actually needs.
- MySQL: A popular open-source relational database management system that efficiently stores, retrieves, and manages structured data. MySQL powers most WordPress installations, WooCommerce stores, and web applications.
- phpMyAdmin: A web-based graphical tool included in cPanel that allows users to manage databases visually: browse data, export backups, import databases, create tables, run SQL queries, and manage permissions without command-line access.
- Privilege: A permission that defines what actions a database user can perform: SELECT (read data), INSERT (add new records), UPDATE (modify existing records), DELETE (remove records), CREATE (make new tables), ALTER (modify table structure).
- SQL: Structured Query Language, a standardized programming language used to query, retrieve, and modify data in relational databases. Most database operations use SQL behind the scenes, though cPanel abstracts this away with graphical interfaces.