When to Migrate: Recognizing the Right Time
Many businesses stick with their current email provider far longer than makes sense, tolerating mediocre support, climbing costs, or missing features that could streamline their operations. Knowing when to move, and understanding why, is the essential first step to a successful migration that your team will actually appreciate.
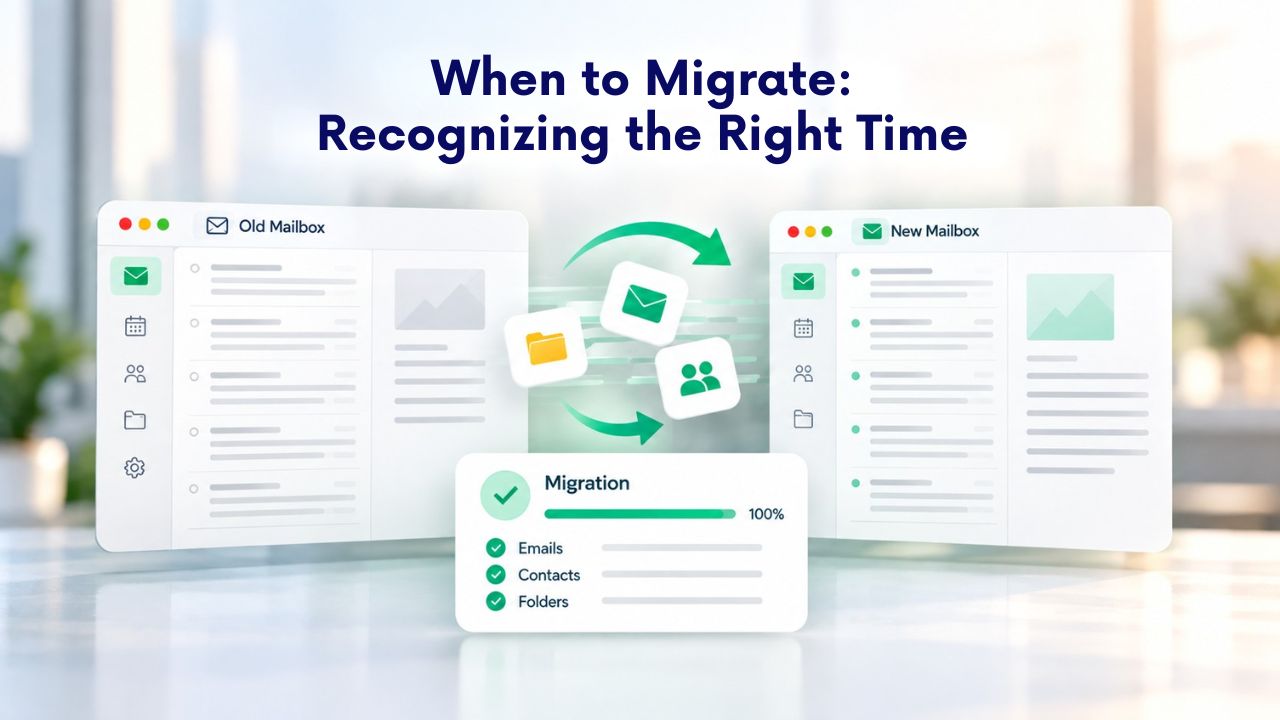
The Business Case for Moving Providers
Your current email provider might have been perfect when you started, but businesses evolve. You may have outgrown a free @gmail or @yahoo address that doesn’t inspire confidence with clients or partners. A domain registrar’s bundled email might handle one or two addresses without complaint, but as your team expands, managing scattered email accounts across multiple services becomes exhausting and error-prone. Perhaps you’re paying too much for too little: your current host charges premium rates for basic features while competitors offer robust storage, advanced security, and responsive support at better value.
Beyond cost, support quality makes an enormous difference. When something breaks with your email- perhaps you can’t log in, or mail isn’t sending- slow or unhelpful support turns a minor issue into a business problem. If your provider’s help desk takes days to respond, or their platform lacks features you actually need, like intuitive mobile access, powerful spam filtering, or the ability to manage multiple mailboxes from one dashboard, staying puts your team at a real disadvantage. Niya Digital’s team has found that small businesses often migrate when they realize their current setup no longer scales: managing email across a domain registrar, a web host, and a separate email service creates administrative friction that a dedicated email provider eliminates.
Readiness Signals: When Migration Makes Sense
Migration is worth your time and effort if you’re experiencing one or more of these patterns. Your team is growing, and you need to add more mailboxes or increase storage limits; many free and bundled plans cap both. Your outgoing emails frequently land in spam folders, suggesting deliverability problems or missing authentication protocols. You’re paying more for features you don’t need while missing the ones you do. Support responsiveness has declined noticeably, or your provider doesn’t offer capabilities your team relies on, such as mobile app setup, webmail access, or consolidated multi-user account management. Or you’re consolidating email across multiple services and want everything under one roof with your domain.
If only one of these applies, staying put might be the safer choice; switching creates temporary disruption. But if two or more resonate strongly with your situation, migration often pays for itself quickly through better features, more reliable support, and improved team productivity.
What to Evaluate in a New Provider
Not all email providers work the same way or serve the same needs. Before you commit to a switch, you need to understand what matters most for your specific business and how your shortlist actually delivers.
Core Features That Drive Your Decision
Custom-domain email is the foundation of any professional email hosting provider. You need addresses like @yourcompany.com, not @gmail or @yahoo. Any reputable business email provider offers this. The experience varies, though: some make it trivial to register a new domain or connect an existing one through an intuitive setup wizard, while others require multiple manual DNS steps that confuse non-technical users. Look for a provider with a clear, streamlined domain-connection process.
Webmail access is essential. You should be able to open any web browser, log in, and access your inbox without installing software. Look for a clean, fast interface with reliable search, organized folders, and basic filtering rules. Some providers bundle webmail with calendar and contacts; others keep it minimal and focused on email only. Choose the approach that best fits your workflow.
Migration Assistance and Support
Migration assistance can make the difference between a smooth switch and a stressful ordeal. Ask whether your potential provider offers a guided setup process, can import data from your old provider, or assigns a dedicated person to oversee your migration. Some providers include migration assistance at no extra cost; others charge a fee or reserve it for larger customers. Smaller companies might choose a provider with excellent self-service documentation and tools; larger organizations often justify paying for hands-on migration help.
Support availability and responsiveness matter when something breaks. Look for email, chat, and phone support options; ask about response-time commitments. A provider with 24/7 support and one-hour response guarantees offers more peace of mind than one with 9-to-5 email-only support. Check online reviews or test their support yourself before signing up; a quick chat with a support person who answers your real questions tells you more than any marketing promise.
How Email Moves During Migration: The Technical Reality
Understanding what actually happens to your email during the switchover reduces anxiety and helps you plan the timeline realistically. Email migration involves moving your email data, updating domain configuration, and ensuring service continuity, and each step has timing implications you need to understand.
The Role of MX Records and Email Routing
Mail Exchange (MX) records are DNS entries that tell the internet which mail servers receive email for your domain. When someone sends a message to someone@yourcompany.com, their mail server looks up your domain’s MX record to find out where to deliver the message. Right now, your MX record points to your current provider’s servers. When you migrate, you’ll update that record to point to your new provider’s servers instead.
Here’s what happens: before you make any changes, incoming mail flows to your current provider’s servers. You export your email data from the old provider by downloading it through webmail, using an IMAP backup tool, or using the provider’s built-in export feature. Then you update the MX record in your domain’s DNS to point to your new provider’s mail servers. From that moment forward, new email arriving at someone@yourcompany.com routes to the new provider’s servers. Older email stays with your old provider unless you’ve explicitly transferred it to the new provider.
Data Transfer: Manual, Assisted, or Both
You can move your email data in different ways depending on how much help you want and how much time you have. Manual data transfer means you export email from your old provider (usually as an IMAP backup or complete mailbox download) and then import it into your new provider. This takes a few hours to a day depending on how much email you have, but it’s free and puts you in control. The trade-off is that if something goes wrong, you’re responsible for troubleshooting.
Assisted migration means your new provider’s team imports your data directly from the old provider using automated tools. They handle the technical details, pulling mail, contacts, and calendar data (if applicable) from your old account. This is faster, reduces your workload, and is lower-risk because experienced professionals manage the transfer. Many providers offer this as a paid add-on, though some include it free for new customers.
Downtime Window and Email Continuity
Email downtime during migration typically lasts hours to 1–2 days, depending on how carefully you plan and coordinate the switchover. The timeline looks like this: before the cutover, you export and back up your email from the old provider. This can happen anytime before the actual migration; there’s no rush. On your chosen cutover day, you update your MX record to point to the new provider’s mail servers. From that moment on, new incoming email routes to the new provider’s servers. Older email remains with the old provider until you transfer it.
During the propagation window, which lasts from a few hours to 48 hours, DNS changes spread globally. Most mail servers recognize the change within a few hours. During this time, some senders might still try to send mail to your old provider’s servers. Most mail systems queue failed messages and retry automatically, so mail eventually reaches the new provider. If the old provider rejects mail after the cutover, a small percentage might bounce, but this risk drops significantly if you keep the old provider active for 24 hours after the MX change.
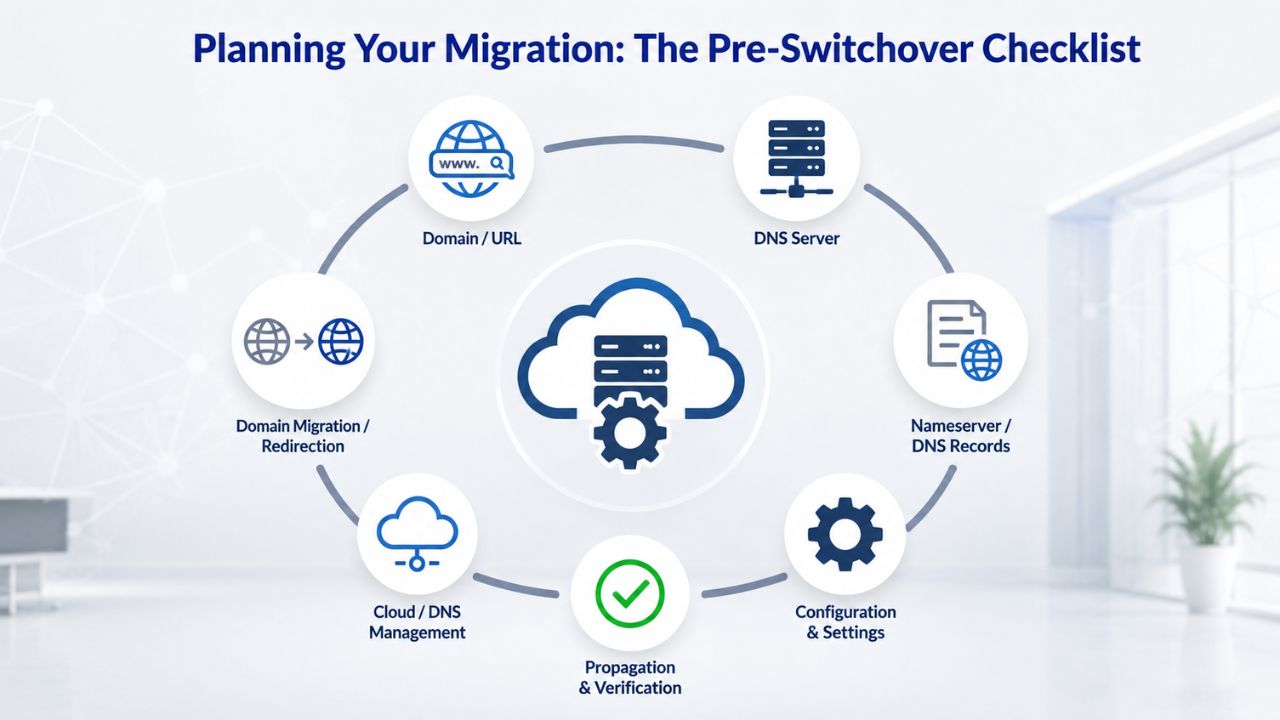
Planning Your Migration: The Pre-Switchover Checklist
A successful migration starts with thorough preparation. Skipping planning steps increases the risk of data loss, team confusion, and avoidable downtime. Taking time upfront to plan saves enormous frustration later. Migrations that fail usually fail because someone skipped a step, assumed something would work a certain way, or didn’t test before flipping the switch. You won’t regret spending a few hours planning; you will regret rushing.
Timeline and Communication
Set your migration window 1–2 weeks in advance. Choose a time with the lightest email traffic: late Friday afternoon, a weekend, or an off-peak Monday morning. Avoid critical business periods, month-end closing, tax season if you’re an accounting firm, holiday seasons for retail, or any time your team is swamped. A 48-hour window is typical: setup and configuration on Day 1, the actual MX cutover and verification on Day 2, and troubleshooting if needed on Day 3.
Tell your team about the migration 1 week in advance. Send an email explaining the date, what to expect (email may be briefly delayed, and they may need to configure their devices), and who to contact with questions. Send a reminder 1 day before the migration. And send a final heads-up the morning of the cutover. This simple communication prevents confusion and panic.
Pre-Migration Checklist
Start with a complete audit of your current setup. Document your email provider’s name, your domain name, the number of mailboxes you have, and who has access. Note any forwarding rules, distribution lists, or shared mailboxes that need to move too. Check your old provider’s documentation for the export or backup process; start there rather than winging it on migration day.
Choose and sign up for your new provider. Research your shortlist using the evaluation criteria from the previous section. Select a provider, create your account, and set up your mailboxes. Niya Digital’s Professional Email Hosting, powered by Titan Email, offers custom-domain email, mobile and desktop client setup, spam protection, and email-authentication support. Test webmail access immediately to confirm everything is working.
| Step | What Happens | Typical Timeframe | Owner |
|---|---|---|---|
| Pre-Migration Planning | Audit current setup, document mailboxes, choose new provider, create test account | 1–3 days | Your team |
| Email Export & Backup | Download all email from old provider, verify backup completeness, store securely | 1–2 days | Your team |
| New Provider Setup | Create mailboxes, configure domain, generate DNS/authentication records | 1 day | You or new provider |
| DNS Configuration | Add/update MX, SPF, DKIM, DMARC records in domain DNS | 1–24 hours | You or your registrar |
| DNS Propagation Window | MX and authentication records spread globally; most mail servers recognize change within hours | Up to 48 hours | Automatic (internet-wide) |
| Data Transfer | Import email from old provider to new provider (manual or assisted) | Hours to 1 day | You or new provider |
| Client & Device Setup | Configure webmail, mobile apps, desktop clients with new provider settings | 1–2 hours per user | Your team |
| Post-Migration Testing | Send test emails, verify authentication headers, check webmail/clients, monitor inbox | 1 day | Your team |
| First-Week Monitoring | Watch for spam folder issues, test critical workflows, monitor provider dashboard | 5 business days | Your team |
| Old Provider Cleanup | Keep old account active 24–48 hours, verify all mail has moved, then cancel | 24–48 hours | Your team |
| Total Window | From planning to full operational readiness | 2–7 days | Combined effort |
Configuring Email Authentication: SPF, DKIM, and DMARC Explained
Email authentication is the foundation of modern email security and reliable delivery. Misconfiguring these protocols, or skipping them entirely, is the most common reason emails land in spam after migration. Understanding each protocol and why it matters makes the setup process less mysterious and helps you do it right the first time.
SPF (Sender Policy Framework): Authorizing Your Mail Servers
SPF tells receiving mail servers which mail servers are authorized to send email from your domain. Without SPF, any attacker can send mail claiming to be from @yourcompany.com; recipients have no way to verify whether the message is legitimate. SPF solves this by publishing a DNS record that lists authorized sending servers.
Your new email provider supplies an SPF record, typically a short line starting with “v=spf1” and listing the provider’s mail servers. You add this as a TXT record in your domain’s DNS. Your domain registrar or web host manages DNS; your provider’s setup guide tells you exactly where to paste the record. Once added, SPF takes effect immediately, with no extra configuration. When your email reaches a receiving mail server, that server checks your SPF record and confirms that your provider’s servers are authorized to send mail from @yourcompany.com.
DKIM and DMARC: Advanced Authentication & Policy
DKIM (DomainKeys Identified Mail) digitally signs your outbound emails so receiving servers can verify they came from your domain and weren’t altered in transit. It’s more sophisticated than SPF because it uses cryptography to prove authenticity. Your new provider generates a DKIM key pair: a private key stored on their servers and a public key you add to DNS. You paste the public key as a TXT record in your domain’s DNS under a specific subdomain (e.g., default._domainkey.yourcompany.com). The provider signs outgoing mail with the private key; receiving servers verify the signature using the public key from DNS.
DKIM significantly improves inbox placement. Spam filters trust digitally signed mail far more than unsigned mail. Major receivers like Gmail and Outlook expect DKIM on business email. DKIM also detects tampering: if an email is altered after sending, the signature breaks and the receiver knows something is wrong. After migration, DKIM signing automatically switches to your new provider’s infrastructure. The only change is updating your DNS record to point to the new provider’s public key.
Ready to Migrate? Start with Planning and a Test Run
Email migration is manageable when you understand the process, plan, and verify each step. Review the pre-migration checklist, set a firm cutover date, communicate with your team, and follow the setup and verification steps outlined above. You’ll move your email smoothly with minimal Disruption, and your team will appreciate the improved reliability and features.
Setting Up Access Across Devices: Webmail, Mobile, and Desktop
After you update your MX record and transfer your email data, your team needs access to email on whatever devices they use. Different platforms require different setup steps, but most providers make this straightforward. Your team will want to access email on phones, tablets, laptops, and desktops. Fortunately, setup is usually painless. The key is making sure everyone has clear instructions and knows where to ask for help if they get stuck.
Webmail: Browser-Based Access Without Installation
Webmail is the fastest way to access email after migration: open a browser, log in, and you’re in your inbox. No installation or configuration needed. Your new provider supplies a webmail URL (often something like mail.yourdomain.com). Have your team bookmark it or add it to their home screens for one-tap access. Niya Digital’s Professional Email Hosting provides webmail access as part of the service.
Setting up webmail is trivial: log in with your email address and password. You can send and receive mail immediately. Spend a few minutes exploring webmail to find folders, filters, contacts, and settings. Most modern webmail interfaces are intuitive if you’ve used Gmail or Outlook.com before; folders are on the left, your inbox is in the middle, and settings are usually in a menu at the top.
Mobile Setup: iPhone and Android
Mobile setup matters if your team checks email on phones. Your provider should supply clear setup guides for iOS and Android. Two approaches exist: automatic setup (your provider’s setup app or link does the work) and manual IMAP/SMTP configuration (you enter server settings yourself).
For iPhone or iPad, most providers support iOS Mail’s built-in setup. Go to Settings > Mail > Accounts > Add Account, select “Other,” and enter your email address and password. The phone usually auto-discovers IMAP and SMTP settings. If not, your provider’s guide tells you the exact server addresses and ports. Once configured, mail syncs automatically and appears in the Mail app; you can use Siri, notifications, and all other iOS features.
Desktop Setup: Outlook, macOS Mail, Gmail App
Desktop email clients offer the richest experience: offline access, advanced filtering, calendar and contacts integration, and smooth synchronization across devices. Setup is straightforward for experienced users.
Outlook (Windows and Mac) lets you add your account via File > Add Account or Account Settings. Outlook auto-discovers IMAP settings for most providers. If you need manual setup, use your provider’s configuration, IMAP host, port, and encryption method. Outlook syncs mail, calendar, and contacts. Once configured, you can work offline; Outlook syncs when you’re online.
macOS Mail setup is similarly simple. Go to System Settings > Internet Accounts > Add Account. Select “Other Mail Account,” enter your email address and password, and Mail usually auto-discovers settings. If you need to enter settings manually, your provider’s guide will provide IMAP/SMTP details. Mail stores a local copy of emails so you can read offline.
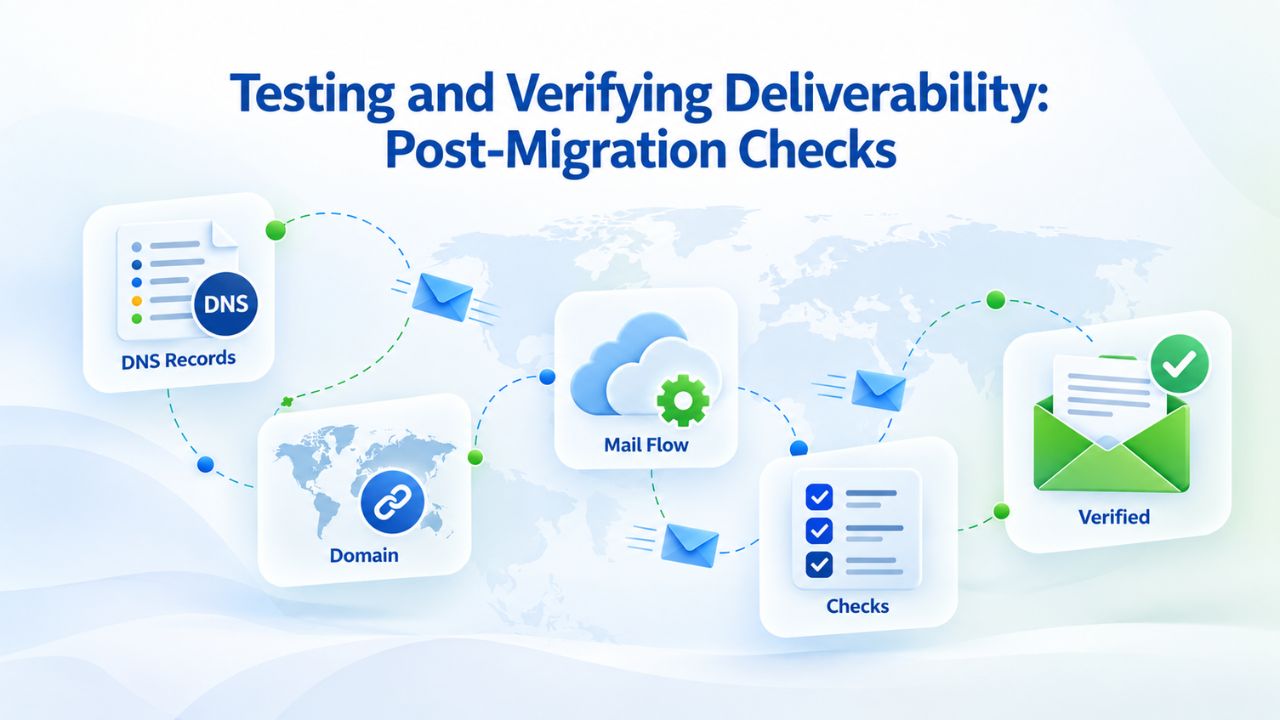
Testing and Verifying Deliverability: Post-Migration Checks
Migration isn’t complete until you’ve verified everything works. Rushing this step risks subtle issues that only surface days later when critical emails start bouncing or disappearing. Verification is boring and feels unnecessary, but it prevents disasters. Spend a few hours checking everything thoroughly; it pays off in fewer support calls and less stress.
Immediate Post-Migration Verification
Send a test email to yourself at an external address (Gmail, Outlook.com, or a personal account). Check that the email arrives within minutes; if it takes longer than an hour, something is wrong with your configuration. Once received, open the email and inspect the headers (most email clients have a “show headers” or “view message source” option). Look for authentication indicators: you should see “dkim=pass,” “spf=pass,” and “dmarc=pass.” All three should show “pass” if your configuration is correct.
If any header shows a failure, stop and troubleshoot before telling your team the migration is done. Common failures include “spf=fail” (your SPF record wasn’t updated correctly or wasn’t added to DNS), “dkim=fail” (your DKIM record wasn’t added or the domain doesn’t match), or “dmarc=fail” (your DMARC policy references the old provider). Your new provider’s support team can diagnose these quickly.
First-Week Monitoring
Watch your inbox for legitimate mail landing in spam. During the first week after migration, deliverability might be lower than your previous provider if the new provider’s mail infrastructure has a lower reputation (new providers often warm up over days or weeks). Check your spam folder daily; if you see recognizable legitimate emails, mark them as “not spam” to train the filter.
Ask clients or vendors to confirm mail is arriving. Send a test email to a key client and ask them to confirm it reached their inbox, not spam. If multiple people report mail going to spam, contact your new provider’s support team; they can investigate sender reputation or DNS configuration issues. Monitor outbound delivery using your new provider’s dashboard. Most providers show delivery status and bounce rates. A spike in bounces might indicate authentication problems or DNS misconfiguration. Address anything unusual immediately.
Authentication Verification Tools
Free online DNS-checking tools let you verify that your SPF, DKIM, and DMARC records are live and correct. Search “SPF checker,” “DKIM checker,” or “DMARC record checker.” Enter your domain, and these tools instantly show what records are published and whether they’re properly formatted. Run checks 24 hours after updating your DNS to confirm global propagation is complete.
Your email provider’s dashboard usually displays authentication status for outgoing mail. Check it regularly in the first week; most providers show a percentage of mail passing SPF, DKIM, and DMARC. Target 90%+ or higher on all three protocols. If you’re below that, investigate configuration issues.
Managing Team Email During Transition: Minimizing Disruption
Email migration affects your entire team. Clear expectations and a well-coordinated plan keep productivity high during the switchover. Your team will be curious and potentially worried about what migration means for them. Clear, timely communication makes the difference between a smooth transition and one filled with anxiety and confusion.
Communication and Timeline
Tell your team about the migration a week in advance. Send an email explaining the migration date, what to expect during the transition (mail may be briefly delayed, and they may need to configure their devices), and what they should do to prepare. Provide setup guides or video walkthroughs. Point them to your provider’s documentation or create custom guides showing exactly which boxes to click for their specific device. Video walkthroughs for iPhone, Android, Outlook, and Mac Mail setup can significantly reduce support requests.
Designate a point person for migration questions and support. Decide who handles migration issues: an IT person, your provider’s support team, or both. Share their contact information with your team. Let them know support will be available and responsive during and immediately after the cutover.
Coordinating the Cutover
Start the migration early in the day. Cut over your MX record in the morning so you have a full day to monitor and troubleshoot. Avoid Friday afternoons, evenings, or weekends when support might be limited.
Keep your old provider active for 24–48 hours after the cutover. Don’t cancel the old email account immediately. Keep it running for 1–2 days so you can access any mail still being sent to the old provider’s servers. Once you confirm all mail has moved to the new provider, then cancel the old account.
Set up mail forwarding on the old account. Many providers let you forward incoming mail from the old account to the new one. This catches any stragglers still sending to the old provider during the transition. Once you confirm forwarding works and new mail arrives at the new provider, you can disable forwarding and cancel.
Ongoing Support in the First Week
Stay available for questions during the first week after migration. This is when issues surface, and your team needs guidance. Allocate a few hours of support bandwidth each day. Most questions will be about device setup (“How do I add this to Outlook?”) or password resets for users who misconfigured mail clients. Have clear answers ready.
Watch for widespread issues that suggest a provider-level problem. If many users report the same problem, “I can’t send mail from my phone” or “Mail is going to spam,” it likely points to authentication misconfiguration, aggressive spam filtering, or infrastructure issues. Contact your provider’s support team immediately. Individual issues are normal; widespread ones signal a configuration problem.
Avoiding Common Pitfalls: The Mistakes That Derail Migrations
Most email migrations succeed. But preventable mistakes can turn a smooth transition into a crisis that costs you time and stress. Learning from other people’s mistakes is far better than making them yourself. Here are the most common errors and how to avoid them.
Backup Failures: The Costliest Mistake
Not backing up before canceling the old account is the mistake that haunts businesses months later. You cut over to the new provider, think everything is migrated, cancel the old account, and discover weeks later that a critical folder of old emails didn’t transfer. By then, the old account is gone, and recovery is expensive or impossible.
Always export email from the old provider before cutting over the MX record. Download all email, all folders, everything. Store the backup somewhere secure and separate from your mail servers, cloud storage, a USB drive, or an external hard drive. Verify the export is complete; check file size and spot-check a few old emails to confirm. Only after you verify a complete, working backup should you proceed with the cutover. This single step eliminates the biggest risk in any email migration.
DNS Misconfiguration: The Invisible Killer
A single typo in your SPF, DKIM, or MX record causes mail to fail silently. Emails bounce, land in spam, or fail to send, and users may not notice right away. By the time you realize something is wrong, you’ve lost emails or frustrated clients.
Use your new provider’s DNS wizard if available. If you must enter records manually, copy them exactly from their documentation. Don’t guess at DNS syntax. After updating each record (MX, SPF, DKIM, DMARC), verify it immediately with an online DNS checking tool. Wait 24 hours for propagation and test sending mail to external addresses. Common mistakes include MX records with incorrect priority values, missing trailing dots, or typos in server names. SPF records are often incomplete or missing the new provider’s server. DKIM records frequently have malformed keys or incorrect subdomain names. Ask your provider’s support team to verify your records; this five-minute check prevents days of troubleshooting.
Choosing a Provider for Your Needs: Evaluating Your Options
Now that you understand the migration process and what to watch for, how do you actually pick a provider? The decision comes down to features, support quality, and how well they align with your business.
| Factor | Why It Matters | What to Look For |
|---|---|---|
| Custom-Domain Email | Professionalism; brand recognition; separates business from personal email | Provider supports @yourcompany.com addresses; flexible domain connection options; clear setup wizard |
| Webmail Access | Remote inbox access; no client installation required | Browser-based interface; intuitive layout; fast search and filter capabilities; works on mobile browsers |
| Mobile & Desktop Setup | Team productivity; access across all devices | Provider supplies setup guides for iOS, Android, Outlook, macOS Mail; IMAP/SMTP documentation; auto-discovery support |
| Spam & Phishing Protection | Reduces security breaches; keeps legitimate mail out of spam | Layered filtering; authentication protocol support (SPF/DKIM/DMARC); admin controls for whitelist/blacklist |
| Email Authentication Support | Prevents spoofing; ensures inbox delivery; improves security | Provider supports SPF, DKIM, DMARC; clear DNS record guidance; dashboard showing authentication status |
| Storage Per Mailbox | Team email scale; archiving and compliance needs | Plan-based storage; upgrade options; old email retention policy clarity; generous limits |
| Migration Assistance | Reduces data loss risk; minimizes downtime; simplifies switchover | Guided setup; data import assistance; timeline coordination; dedicated support during transition |
| Support Availability | Quick issue resolution; setup guidance; deliverability help | Email, chat, or phone support; documented response-time commitments; active knowledge base; responsive team |
| Setup Complexity | Time-to-productivity; team learning curve; support burden | Intuitive setup wizard; pre-configured DNS; step-by-step guides; responsive support team |
| Feature Expansion | Ability to grow with your team | Additional features as your business grows; flexible plan options; upgrade path without major disruption |
What Titan Email Offers: A Practical Reference Point
Niya Digital’s Professional Email Hosting, powered by Titan Email, is a business-focused email provider for companies that want professional custom-domain email without managing mail servers. Titan Email offers custom-domain email hosting, webmail and mobile/desktop client access, spam and phishing protection, email authentication support (SPF, DKIM, DMARC), plan-based mailbox storage, multi-user account management, and migration assistance for switching providers. Niya Digital, as an authorized reseller, provisions and supports Titan Email under its own plans and provides setup and migration guidance to customers.
Why does Titan Email appeal to many businesses? Setup is straightforward; the platform scales easily as your team grows; support is responsive; and Niya Digital handles all operational details so you don’t have to manage mail servers. Titan Email’s authentication and deliverability infrastructure draws on third-party email deliverability and reputation data to support inbox placement, the same way any email hosting provider works, so your mail reaches inboxes reliably. Explore Niya Digital’s Professional Email Hosting plans at https://www.niyadigital.com/.
Decision Factors: Build Your Comparison
Create a simple evaluation matrix to compare providers on the factors that matter most. Use the checklist from the earlier section: custom-domain email, webmail, mobile/desktop setup, spam protection, storage, migration assistance, support, setup complexity, and feature expansion. Score each provider on each factor.
Weight factors by importance to your business. If mobile email is critical, prioritize providers with strong mobile support. If you have strict archiving needs, prioritize storage and retention policies. If your team is non-technical, weight ease of setup and support quality heavily. Don’t just chase the cheapest option. The lowest-cost provider might save $20 per month but cost you ten support emails and a full day of troubleshooting. Evaluate the full cost of ownership: plan quality, estimated support time, and productivity impact matter more than the headline price.
Ready to Move Your Business Email? Explore Your Options Today
Switching email providers is less daunting than it sounds. With the right planning, clear communication, and a provider that supports your setup and migration, you’ll have a new, more reliable email system up and running within days. Niya Digital’s Professional Email Hosting, powered by Titan Email, includes migration assistance, setup guidance, and responsive support to make your transition smooth. Begin exploring your options and learn more.
Frequently Asked Questions
How long does email migration actually take?
Email migration timelines vary depending on how much email you’re transferring and whether you’re doing it manually or with assistance. Plan for 2–7 days end to end. Planning and backup take 1–3 days; DNS and data transfer take 1–2 days; client setup and verification take 1 day.
Most of this time is spent waiting for DNS to propagate or email to transfer. Active work, the time you spend at a keyboard, is often just a few hours spread across multiple days. Choose a low-traffic window like a weekend or off-hours to minimize disruption.
Will I lose emails during migration?
No, if you follow the backup-first approach outlined in this guide. Always export email from your old provider before updating your MX record. Once exported, that data is safe. After the cutover, transfer the backed-up data to the new provider using the provider’s import tool or manual re-upload. Emails in the old account stay there until you cancel it, giving you a 24–48 hour window to confirm the transfer was successful before deleting the old account.
What happens to email sent during the migration window?
Most emails sent during the cutover window arrive within hours while DNS propagates. Mail servers queue messages and retry if delivery fails initially. A small percentage might bounce if the old provider rejects mail after the cutover. To minimize bounces, schedule your cutover during a known low-traffic period and keep the old provider active for 24 hours afterward.
Do I need to reconfigure SPF, DKIM, and DMARC?
Yes, absolutely. Update SPF and DKIM records to reference your new provider’s mail servers, not the old one’s. DMARC policy usually stays the same, but review it to ensure it aligns with your new SPF and DKIM setup. This is non-optional; skipping it is the #1 reason mail lands in spam after migration. Your new provider’s setup guide supplies exact records to add; use their DNS wizard if available.
Can I test the new provider before fully committing?
Absolutely. Create a test mailbox on the new provider (e.g., test@yourcompany.com) and use it for 1–2 weeks before the full migration. Send and receive test emails, configure it on your devices, and invite team members to test. This confirms the platform works for you before migrating everyone. Once satisfied, schedule the full migration.
What if something goes wrong after the cutover?
Have a rollback plan. Keep your old provider active for 24–48 hours after the cutover. If critical issues emerge- for example, authentication is completely broken, and mail won’t send- you can quickly revert the MX record to the old provider. At the same time, you troubleshoot with your new provider’s support team. This buys you time without losing email.
How do I tell clients and vendors about the email change?
Send a brief, professional email a few days before: “We’re updating our email infrastructure for improved security and reliability. Your emails to us will continue to arrive without any action needed on your end.” This manages expectations. Most recipients will never notice anything changed; you’re just being transparent.
Can I migrate email for multiple domains at once?
Yes, if your new provider supports multiple domains (most do). Create mailboxes for each domain, export email for each domain separately, and coordinate the MX cutover. You can cut over all domains simultaneously or stagger them (e.g., migrate Domain A on Day 1, Domain B on Day 2). Staggering reduces risk and lets you catch issues on the first domain before migrating others.
What about forwarding email from the old account after migration?
Many providers let you set up forwarding rules on the old account to forward incoming mail to the new account. This catches any stragglers still sending to the old provider’s servers. Configure forwarding before the cutover, and leave it active for 24–48 hours after. Once you confirm all mail has arrived at the new provider, disable forwarding and cancel the old account.
How do I verify authentication (SPF, DKIM, DMARC) is working?
Use free online DNS checking tools (search “SPF checker” or “DKIM record checker”). Enter your domain, and these tools show what records are published and whether they’re valid. Alternatively, send a test email to Gmail or Outlook, open the email, view the message headers (usually in a menu like “Show original”), and look for “dkim=pass,” “spf=pass,” and “dmarc=pass.” All three should show “pass” within 24 hours of updating DNS.
What if my new provider’s webmail is confusing?
Most modern webmail platforms are intuitive once you spend 15 minutes exploring. Folders, settings, and search are usually where you expect them. Your provider supplies a knowledge base and video guides. If you’re still struggling, contact support; they can walk you through the interface. Many providers also offer mobile apps with simpler interfaces if you prefer not to use webmail.
Can I keep using my old email address after switching providers?
Yes, as long as the email address (yourname@yourcompany.com) stays the same. Only the provider behind it changes. Users outside your company will never know; they’ll send mail to yourname@yourcompany.com, and it will arrive at your new provider’s servers. Your old email address (if it was tied specifically to the old provider, like name@oldprovider.com) won’t work after you cancel that provider.
What’s the difference between IMAP and POP3 email clients?
Most modern providers, including Titan Email, use IMAP. IMAP keeps your email on the provider’s servers and syncs it across devices; you can access the same mailbox from multiple devices, and changes sync everywhere.
POP3 downloads email to one device only and deletes it from the server. IMAP is more flexible and is the modern standard. POP3 is rarely used anymore. Ask your new provider to confirm they support IMAP for all the devices you use.
Is it worth migrating from my current provider?
Migration is worth your time if you’re experiencing poor support, outgrowing your current plan, paying too much for too little, or needing features your current provider doesn’t offer.
If your current setup is working and you’re happy, staying put is simpler. But if two or more pain points from the “When to Migrate” section resonate with your situation, migration often pays for itself within months through better features, responsive support, and improved team productivity.
What should I do if emails aren’t being delivered to external recipients?
This usually points to authentication configuration. Check your SPF, DKIM, and DMARC records using the DNS tools mentioned above. Verify all three show as configured correctly.
Send a test email and inspect the headers for authentication pass/fail indicators. Monitor your provider’s dashboard for bounce rates or delivery issues. Contact your provider’s support team if issues persist; they can investigate sender reputation or DNS problems you can’t see yourself.
Glossary
- DKIM (DomainKeys Identified Mail): Email authentication protocol that digitally signs outbound emails to prove they came from your domain and weren’t altered in transit, and is configured via a DNS TXT record containing a public key.
- DMARC (Domain-based Message Authentication, Reporting and Conformance): Email security policy that sits on top of SPF and DKIM, instructing receiving servers what to do if email authentication fails. Configured via a DNS TXT record; also generates reports on mail delivery.
- IMAP: Internet Message Access Protocol; an email protocol that allows mail clients to access and sync email stored on a mail server. IMAP keeps a copy on the server so that you can access the same mailbox from multiple devices.
- MX Record: Mail Exchange DNS record that tells the internet which mail servers receive email for your domain. When you switch providers, you update the MX record to point to your new provider’s servers.
- SPF (Sender Policy Framework): Email authentication protocol that authorizes which mail servers are allowed to send email from your domain. Configured via a DNS TXT record to prevent spoofing.
- Webmail: Browser-based email interface that lets you access your inbox from any device without installing software. Examples include Gmail, Outlook.com, and most email provider portals.