What Docker Is & Why It Fits a VPS
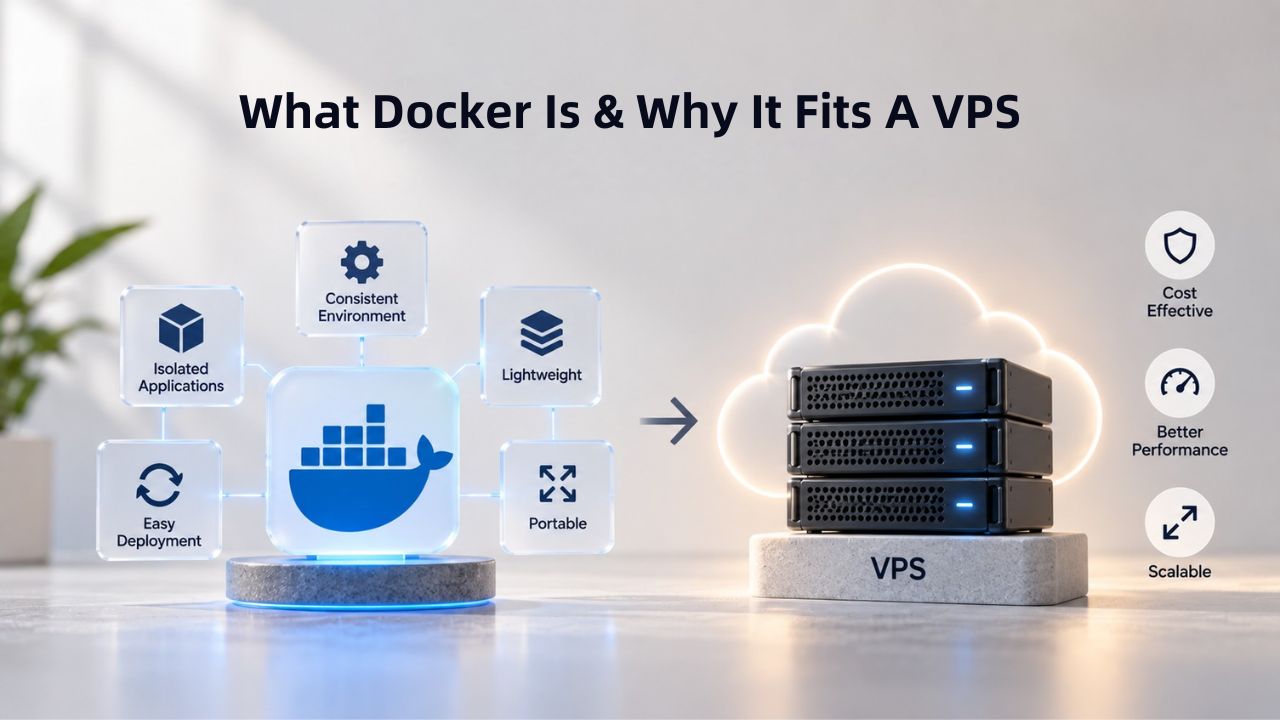
Docker is transforming how teams deploy, test, and scale applications across infrastructure. For teams considering VPS hosting, Docker offers a compelling combination: consistency across environments, efficient resource use, and portability that eliminates deployment friction. Understanding why Docker and VPS hosting complement each other, and what infrastructure matters most, is the starting point for successful containerized deployments.
Docker Brings Consistency Across Every Environment
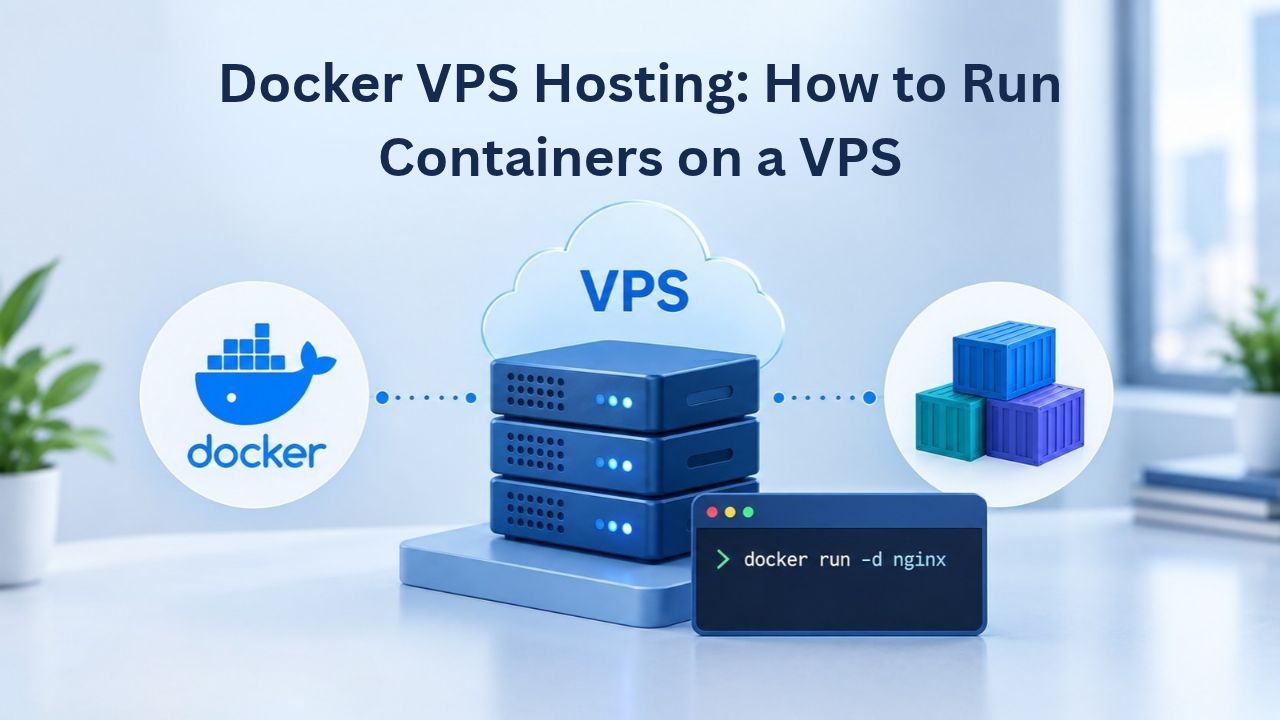
Docker is an open-source containerization platform that packages applications, along with their dependencies, libraries, runtime, and configuration files, into a single portable unit called a container. Unlike virtual machines, which bundle an entire operating system and consume gigabytes of disk space, containers share the host’s kernel and use Linux namespaces and cgroups to isolate processes. This lightweight approach means containers start in milliseconds rather than minutes, consume far less disk and memory than VMs, and run identically whether deployed on a developer’s laptop, a staging server, or production infrastructure.
The consistency aspect is transformative. Code that works during development works in production without the “but it runs on my machine” problem. Containers encapsulate the exact versions of libraries, system dependencies, and runtime environments, eliminating version conflicts and installation inconsistencies that plague traditional deployments. A team member can reproduce a production issue on their laptop using the same container image, speeding up debugging and reducing mean time to resolution.
Why VPS Hosting Works for Container Deployments
A VPS (Virtual Private Server) partitions a physical server into isolated virtual machines, each with dedicated CPU, RAM, and storage. Each VPS runs independently with its own operating system and applications, protected from neighboring tenants by virtualization. This isolation is critical for Docker: shared hosting environments typically restrict root access, limit installed software, and oversell CPU and memory to maximize provider profit. None of that works well with Docker, which requires full administrative control, kernel-level configuration, and resource guarantees.
A VPS provides exactly what Docker needs: full root access to install the Docker daemon, manage container networking, configure kernel-level security features, and customize the entire stack without restrictions. Niya Digital’s VPS Hosting service includes full root access, SSD storage, snapshot backups, and performance monitoring, features that directly support reliable container operations. You run dozens of containers without competing with other customers’ workloads, and you retain full control over your infrastructure, keeping overhead low while maintaining the flexibility of a dedicated environment.
VPS Hosting Plans & Pricing
Choose the VPS hosting plan that fits your website, application, or business requirements. Select a self-managed VPS for complete server control or a fully managed VPS with a dedicated team of experts to help manage your server.
Self Managed VPS 1 vCPU
1 GB RAM
Entry-level VPS hosting for lightweight websites and applications.
- 1 CPU Core
- 1 GB RAM
- 20 GB SSD Storage
- Linux only, no control panel

Self Managed VPS 2 vCPU
4 GB RAM
VPS hosting with additional CPU and memory for growing websites and applications.
- 2 CPU Cores
- 4 GB RAM
- 100 GB SSD Storage
Self Managed VPS 2 vCPU
8 GB RAM
Additional memory for more demanding websites and applications.
- 2 CPU Cores
- 8 GB RAM
- 100 GB SSD Storage
Self Managed VPS 4 vCPU
8 GB RAM
Increased processing power for business websites and applications.
- 4 CPU Cores
- 8 GB RAM
- 200 GB SSD Storage
Self Managed VPS 4 vCPU
16 GB RAM
High-memory VPS hosting for resource-intensive workloads.
- 4 CPU Cores
- 16 GB RAM
- 200 GB SSD Storage
Self Managed VPS 8 vCPU
16 GB RAM
Powerful VPS resources for demanding business applications.
- 8 CPU Cores
- 16 GB RAM
- 400 GB SSD Storage
Self Managed VPS 8 vCPU
32 GB RAM
Maximum self-managed resources for demanding workloads.
- 8 CPU Cores
- 32 GB RAM
- 400 GB SSD Storage
Fully Managed VPS 1 vCPU
2 GB RAM
Managed VPS hosting with expert server management.
- 1 CPU Core
- 2 GB RAM
- 40 GB SSD Storage
- Dedicated team of experts to fully manage your server
Fully Managed VPS 1 vCPU
4 GB RAM
Managed VPS resources for websites and business applications.
- 1 CPU Core
- 4 GB RAM
- 40 GB SSD Storage
- Dedicated team of experts to fully manage your server
Fully Managed VPS 2 vCPU
4 GB RAM
Managed VPS hosting with additional CPU resources.
- 2 CPU Cores
- 4 GB RAM
- 100 GB SSD Storage
- Dedicated team of experts to fully manage your server
Fully Managed VPS 2 vCPU
8 GB RAM
Managed VPS hosting with additional memory for growing workloads.
- 2 CPU Cores
- 8 GB RAM
- 100 GB SSD Storage
- Dedicated team of experts to fully manage your server
Fully Managed VPS 4 vCPU
8 GB RAM
Higher-performance managed VPS for demanding applications.
- 4 CPU Cores
- 8 GB RAM
- 200 GB SSD Storage
- Dedicated team of experts to fully manage your server
Fully Managed VPS 4 vCPU
16 GB RAM
High-memory managed VPS for resource-intensive workloads.
- 4 CPU Cores
- 16 GB RAM
- 200 GB SSD Storage
- Dedicated team of experts to fully manage your server
Fully Managed VPS 8 vCPU
16 GB RAM
Powerful managed VPS hosting for demanding business workloads.
- 8 CPU Cores
- 16 GB RAM
- 400 GB SSD Storage
- Dedicated team of experts to fully manage your server
Fully Managed VPS 8 vCPU
32 GB RAM
Maximum managed VPS resources for demanding workloads.
- 8 CPU Cores
- 32 GB RAM
- 400 GB SSD Storage
- Dedicated team of experts to fully manage your server
Choosing the Right VPS Plan for Docker
Selecting an appropriately sized VPS is one of the most important decisions you’ll make for Docker deployments. Undersizing causes performance degradation, memory errors, and application crashes; oversizing wastes resources and unnecessarily increases costs. The key is matching expected container count and workload intensity to the right plan, then monitoring actual usage and adjusting as your application grows.
Resource Sizing for Your Container Workload
Docker Engine itself requires roughly 200 MB of RAM when idle and minimal CPU resources. The real resource budget comes from the containers running on top of Docker. A single small application with an associated database can fit comfortably on 2 GB of RAM with a single vCPU. A typical production stack with a web application, database, reverse proxy, and one or two background workers realistically needs 2–4 vCPUs and 4–8 GB of RAM to run smoothly under normal traffic.
As your container count and application intensity grow, you’ll scale resources accordingly. A development or staging environment with 10–15 containers (microservices, monitoring tools, supporting services) typically needs 8 GB of RAM and at least 4 vCPUs to avoid resource contention. A busy production environment with 20+ containers, including database replicas, CI/CD runners, and intensive processing workloads, benefits from 16 GB of RAM and 8+ vCPUs. The progression is not linear; database workloads and cache layers consume memory at rates that differ dramatically from stateless web services.
Niya Digital offers self-managed and fully managed VPS plans, from minimal Linux-only configurations to high-performance production tiers. The self-managed option gives technical teams maximum control; the fully managed tier adds a dedicated support team that handles monitoring, patching, and troubleshooting, freeing your team to focus on containerization strategy rather than server operations. Starting with a mid-range self-managed plan and monitoring actual resource consumption allows you to make informed scaling decisions based on real data rather than estimates.
Monitoring Actual Resource Use Before Committing
Right-sizing a VPS is not a one-time decision made at provisioning; it’s an iterative process refined over weeks and months of production operation. After deploying your Docker stack, use the docker stats command to observe real memory and CPU consumption per container. A container that appears lightweight in theory, a lightweight API service, might spike to 512 MB under production traffic or during database query processing. A database container might consume 80% of available RAM during peak hours or backup operations.
Build in headroom when allocating resources to your VPS. If you’re currently using 3 GB out of 4 GB of RAM during normal operations, upgrading to 8 GB prevents out-of-memory failures during unexpected traffic spikes. It gives you room to add more containers or increase cache allocations without exhausting resources. Monitor trends over time; if resource usage grows steadily, plan upgrades before you hit capacity limits. Each container adds roughly 20–50 MB of overhead on top of the application itself, accounting for the container runtime and filesystem layers. Docker build cache can grow to 10–20 GB or more if you’re running CI/CD pipelines on the same VPS, and container log files can generate gigabytes in days without proper rotation.
Resource Sizing Table
| Use Case | Recommended CPU | Recommended RAM | Recommended SSD | Typical Container Count | Primary Workload |
|---|---|---|---|---|---|
| Development/Testing | 1–2 | 2 GB | 20 GB | 1–3 | Single app with database |
| Small Production Stack | 2 | 4 GB | 40–100 GB | 3–5 | Web app, database, reverse proxy, worker |
| Growing Production | 4 | 8 GB | 100–200 GB | 10–15 | Multiple microservices, monitoring, caching |
| Heavy Production | 8+ | 16+ GB | 200–500 GB | 20+ | Multiple databases, CI/CD runners, staging |
| Enterprise Scale | 16+ | 32+ GB | 500+ GB | 50+ | Distributed services, multiple environments |
| Development CI/CD | 4 | 4–8 GB | 100–200 GB | 5–10 | Build pipelines, image storage, testing |
VPS Features That Matter for Containers
Certain infrastructure features directly impact your ability to run Docker reliably and securely. Not all VPS providers offer the same capabilities; understanding what matters most for containers helps you evaluate options and avoid platforms that lack essential features.
Root Access and Full Kernel Control
Docker requires root or administrative privileges to function properly. The Docker daemon must manage network interfaces, create kernel namespaces for process isolation, enforce resource limits via cgroups (control groups), and access kernel security features like AppArmor or SELinux. Full root access via SSH is non-negotiable for Docker deployments; without it, you cannot install the Docker daemon or configure the operating system for container workloads. Shared hosting, by design, denies root access to prevent one user from affecting others and to simplify support; this same design makes shared hosting incompatible with Docker.
With root access, you can install and configure kernel-level security hardening tools essential for production container security. Linux Security Modules like AppArmor (on Ubuntu/Debian) or SELinux (on CentOS/RHEL) enforce mandatory access control policies, restricting what even privileged processes can do. You can enable seccomp (secure computing mode) to limit the system calls available to container processes, drop unnecessary Linux capabilities from the Docker daemon itself, and configure per-container capabilities to follow the principle of least privilege. These hardening layers are available exclusively to users with full administrative control over the operating system.
NVMe SSD Storage for Container Image & Volume Performance
Containers store persistent application data in volumes, directories mounted inside the container that survive container restarts and are shared across container instances. Database files, log directories, and static assets all live on storage. Slow storage becomes a bottleneck: Docker I/O operations stall, database queries slow, and deployments (pulling and starting containers) take longer than necessary. NVMe SSD storage is 3–5 times faster than SATA drives for random read/write operations, the type of access pattern most important for database performance and container layer caching.
Every Niya Digital VPS plan includes SSD storage by default, ensuring that I/O never becomes the limiting factor for your containers. Large Docker image registries also benefit from fast storage. If you’re building and storing multiple container images locally for CI/CD testing or private stacks, each image can range from 500 MB to several gigabytes. Fast NVMe SSD means image pulls and builds complete in seconds rather than minutes. When you scale to multiple containers running simultaneously, the difference becomes tangible: a database-backed service starts nearly instantly with NVMe, whereas SATA-backed storage might introduce 10–30 second delays. At the same time, the database initializes and becomes ready to accept connections.
Setting Up Docker on Your VPS
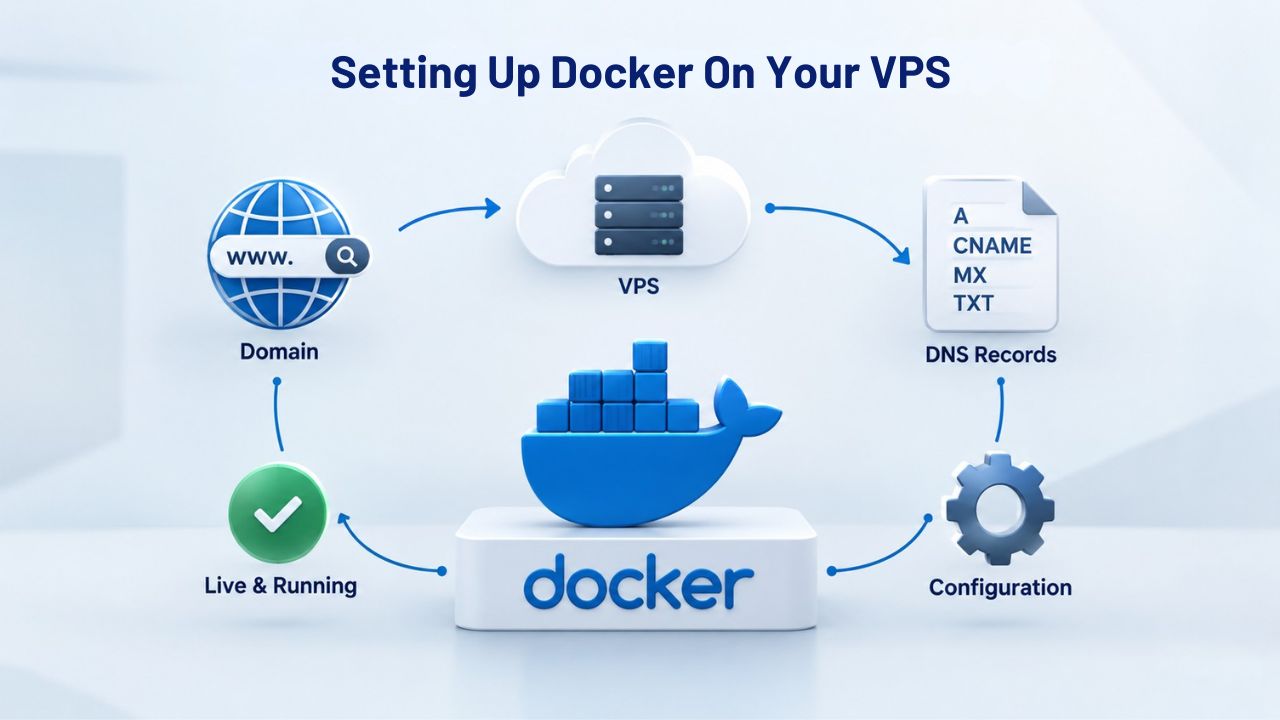
Getting Docker running on a newly provisioned VPS takes minimal time and effort, especially when you start with a standard Linux distribution with solid package management. The process is straightforward enough that you can run your first containers within an hour of provisioning, making a VPS an accessible platform even for teams new to containerization.
Operating System and Provisioning Timeframe
Docker runs on Linux (the preferred platform) and Windows Server, though Linux is the industry standard for Docker workloads due to superior performance, broader tooling support, and lower resource consumption. When provisioning a VPS through Niya Digital, you choose your operating system during setup. Ubuntu Server 20.04 LTS or 22.04 LTS are excellent choices for Docker deployments; they’re widely supported by the community, have long maintenance windows that ensure security patches for years, and include Docker in official repositories for straightforward installation.
VPS provisioning typically completes in 1–5 minutes; once your server is active, you can connect via SSH and install Docker immediately. After provisioning, installing Docker is as simple as running a few apt commands on Ubuntu or the equivalent package manager commands on other distributions. You can pull container images, create volumes for persistent data, and start your first containers within minutes. Unlike shared hosting (which requires waiting for support staff to install software) or complex cloud platforms (which require learning Kubernetes and abstract concepts), a VPS lets you go from provisioning to running containerized applications in under an hour.
Prerequisites and Initial Security Hardening
Before pulling production containers from registries and running them on your VPS, a few basic setup steps prevent common issues and establish a secure foundation. Create a non-root user for SSH access, disable password authentication in favor of SSH key pairs, and configure a firewall to allow only necessary ports, typically port 22 for SSH, ports 80 and 443 for HTTP/HTTPS web traffic, plus any custom application ports your containers expose. Keep the host kernel and Docker daemon patched and current; kernel vulnerabilities directly impact container security since containers share the host kernel, and a kernel exploit executed within a container can escalate to host root access.
Niya Digital’s fully-managed VPS tier handles these setup and hardening steps automatically, freeing you to focus on containerization and application deployment. Even on self-managed plans, these initial configurations require less than an hour and establish a secure foundation for container deployments. The investment pays off repeatedly; a properly hardened server is much harder to compromise and requires far less incident-response overhead if an attempt does occur.
Sizing Containers & Monitoring Resource Use
Understanding container resource consumption patterns and enforcing appropriate limits prevents one misbehaving container from crashing your entire stack. Proper resource allocation, log rotation, and regular cleanup keep your VPS running smoothly and prevent the common pitfalls that catch teams unprepared for production containerization.
Container Overhead and Per-Container Memory Allocation
Not every container in a typical stack uses memory equally. A reverse proxy like Nginx or Traefik typically uses 10–50 MB; a lightweight API service might use 100–200 MB; a production database can consume 2–4 GB or more under load. When planning a multi-container stack, allocate resources individually: set memory limits and CPU shares on each container so a runaway process doesn’t starve neighboring containers. Docker’s cgroups enforce these limits at the kernel level, preventing one container from consuming all available RAM and crashing the entire application stack.
Use Docker’s –memory and –cpus flags to set per-container limits at runtime. A typical small production stack might allocate: Nginx reverse proxy (50 MB), API application (200 MB), background worker (150 MB), database (2 GB), Redis cache (256 MB), totaling approximately 2.7 GB, leaving headroom on a 4 GB VPS for system overhead and unexpected traffic spikes. Monitor actual usage with docker stats –no-stream to see whether your allocations are realistic. After a week of production traffic, you’ll have real data to right-size containers before performance becomes a problem.
Log Rotation and Build Cache Management
Docker’s default logging driver generates JSON-file logs without automatic rotation, meaning logs can grow unchecked and fill your disk. Configure log rotation via Docker daemon options or switch to the local logging driver with rotation built in. A busy container can generate gigabytes of logs in days; without rotation, you’ll eventually encounter an out-of-disk error that crashes your entire stack. Set a sensible retention policy; for example, keep the last 10 days of logs and rotate daily, and monitor disk usage regularly.
Build cache is another common culprit for unexpected disk exhaustion. If you’re running CI/CD pipelines on the same VPS, Docker layer cache accumulates and can consume 10–20 GB or more quickly. Clean up unused images and build cache regularly with docker image prune and docker builder prune. A simple weekly cron job prevents disk usage from becoming a crisis. Without regular cleanup, you’ll discover disk space exhaustion only when deployments fail, forcing emergency cleanup during a crisis instead of scheduled maintenance windows.
Deploy Your Docker Stack Today
Docker transforms how applications move from development to production, and Niya Digital’s VPS Hosting provides the infrastructure to make it reliable and secure. Whether you’re running a small microservices stack or scaling to dozens of containers, our self-managed and fully-managed VPS plans give you root access, SSD storage, snapshot backups, and the performance your containerized workloads need. Start small, scale smoothly, and maintain complete control over your infrastructure.
Security Hardening for Docker on a VPS
Container security isn’t a feature you add after deployment; it’s a foundational consideration that affects every layer, from base images to runtime configuration. Understanding the shared-responsibility model, where both the platform provider and the account holder play roles, ensures you build secure containerized systems.
Kernel-Level Security and Containerization Isolation
Containers rely on Linux kernel features, namespaces, cgroups, and capabilities, to enforce isolation between processes. This approach is powerful but not perfect: a kernel vulnerability or a misconfigured container with excessive privileges can potentially escape the container and compromise the host. Hardening the host kernel is the first line of defense against container-to-host escape attacks. Enable kernel security modules like SELinux (on CentOS/RHEL-based systems) or AppArmor (on Ubuntu/Debian-based systems). These enforce mandatory access control policies, restricting even root processes to a predefined set of actions.
A compromised container running with AppArmor active cannot perform privileged operations outside its confinement, significantly limiting the damage an attacker can cause. Apply security patches to the host kernel regularly; a patched kernel eliminates known kernel exploits that could allow container-to-host privilege escalation. This is one of the rare cases where staying meticulously up to date with OS updates directly impacts container security. Niya Digital’s team has found that Docker deployments with proper kernel hardening in place reduce security incidents significantly, not because Docker itself is broken, but because hardening restricts the blast radius when misconfigurations or vulnerabilities do occur.
Runtime Container Hardening and Privilege Dropping
Run containers as non-root users whenever possible. Many container images default to running as root inside the container, which is unnecessary for most applications and substantially increases risk. If an attacker exploits a vulnerability in the application code, they gain root privileges inside the container and could potentially escape to the host or access all container secrets. Use the USER directive in Dockerfiles to drop to a non-root user, and add the –read-only flag to the docker run command to mount the container’s filesystem as read-only when feasible, forcing all writes to dedicated volumes.
Drop unnecessary Linux capabilities from containers using –cap-drop. By default, containers inherit many capabilities from the Docker daemon; most applications need only a tiny subset. Drop all capabilities with –cap-drop=ALL, then add back only the specific ones your application needs. Use seccomp profiles to restrict the system calls available to container processes; a web server doesn’t need access to filesystem-mounting syscalls or privileged socket operations. Docker includes default seccomp profiles, and you can customize them for stricter enforcement. These practices follow the principle of least privilege: every container has only the permissions it needs, no more.
Deploying a Multi-Container Stack
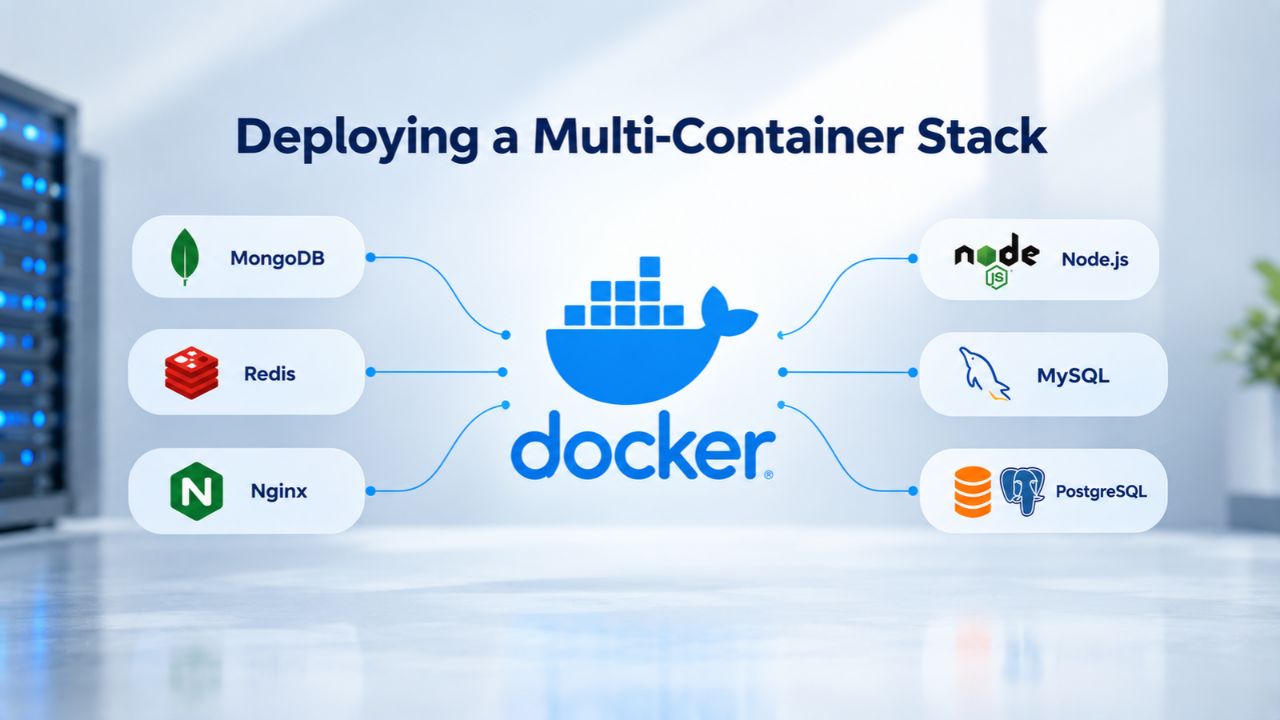
Running multiple containers that work together requires orchestration, tools to manage networking, resource allocation, startup order, and inter-container communication. Docker Compose is the standard approach for single-host orchestration, making it easy to define, deploy, and manage complex stacks.
Docker Compose for Single-Host Multi-Container Orchestration
For simple to moderately complex stacks, Docker Compose handles orchestration on a single VPS without Kubernetes’ complexity. A Compose file (docker-compose.yml) defines all your services, their images, exposed ports, volumes, environment variables, and resource limits in a single, version-controlled YAML file. Running docker-compose up -d starts all containers in the correct dependency order, automatically networking them so services can communicate by name; the database container can be addressed as “db” from the web application container without hardcoding IP addresses.
Compose is ideal for development, staging, and small production deployments. Define your entire stack in code, commit it to version control, and deploy consistently every time. Need to scale the database tier? Change one line in the Compose file specifying the image version or CPU allocation. Need to add a cache layer (Redis)? Add a service block. The same file runs on your laptop during development, in CI/CD pipelines for testing, and on your production VPS, eliminating the “it works on my machine” problems that plague traditional deployments.
Reverse Proxy Setup and SSL Termination
In front of your containers, run a reverse proxy (Nginx, Caddy, or Traefik) to route external traffic to the right container and handle SSL/TLS encryption. The reverse proxy listens on ports 80 (HTTP) and 443 (HTTPS), terminates SSL connections, and forwards requests to your application containers on internal ports. This approach keeps your application containers isolated from the outside world and simplifies SSL certificate management: one certificate on the proxy handles encryption for all containers behind it.
Traefik or Caddy integrates with Docker’s API and automatically discovers containers by label, updating routing rules without manual intervention. Add a container, label it with the domain it should serve, and the proxy picks it up automatically. Certificate provisioning via Let’s Encrypt is automatic; Caddy renews certificates transparently before expiration. This eliminates manual SSL management overhead and is the standard pattern in production Docker environments.
Scaling from Compose to Swarm
As your stack grows- more containers, higher traffic, critical uptime requirements- a single VPS becomes a single point of failure. If the host crashes or experiences issues, all containers are unavailable. Docker Swarm clusters multiple VPS instances to distribute containers and provide automatic failover.
When to Move Beyond Single-Host Deployment
As your containerized application matures and traffic grows, a single VPS has inherent limitations. If the host experiences an outage, all containers are down until the host recovers, no matter how well-architected your application is. Docker Swarm addresses this by clustering multiple VPS instances into a swarm, distributing containers across nodes and automatically restarting failed containers on healthy nodes. Swarm is Docker’s lightweight orchestration solution, significantly simpler than Kubernetes but powerful enough for small to medium production environments running dozens or hundreds of containers.
Swarm suits 2–20 node clusters, a range that covers most teams’ growth trajectory. A typical Swarm setup includes one manager node (running the Swarm control plane and metadata storage) and 2–4 worker nodes running your application containers. If a worker node fails or becomes unavailable, Swarm reschedules containers on remaining healthy workers. If your database container crashes, Swarm restarts it on a healthy node. Load balancing and service discovery are built in, and you deploy using the same Compose files you used for single-host deployments, just with additional orchestration guarantees.
Transitioning Your Stack to Swarm
Enabling Swarm is a single command on your manager node: docker swarm init. Worker nodes join the swarm with docker swarm join, providing a token and manager IP address. Once the swarm is active, deploy your Compose files with docker stack deploy, which translates services to Swarm’s distributed model. Existing Compose files often work with minimal changes; Swarm understands most Compose syntax, though a few features (like build commands) work differently in a distributed swarm context.
Niya Digital’s VPS plans are well-suited for swarm deployments: provision 3–5 VPS instances (one manager, 2–4 workers), ensure they can communicate over a private network, and you have a production-ready Docker swarm. The manager node can stay lean (1–2 vCPU, 2–4 GB RAM), and you can size worker nodes to your workload. This distributed approach costs more than a single large VPS but gives you redundancy and fault tolerance, making it worthwhile for applications where uptime matters.
Docker Swarm vs. Kubernetes Comparison
| Factor | Docker Swarm | Kubernetes |
|---|---|---|
| Setup Complexity | Built into Docker; single command to enable | Requires kubeadm, Helm, or managed service |
| Resource Overhead | Minimal; lightweight control plane | Significant; resource-hungry control plane |
| Best For | 2–20 node clusters; small-to-medium production | Large-scale, multi-region, enterprise deployments |
| Learning Curve | Low; familiar Docker CLI and Compose syntax | Steep; numerous new concepts and abstractions |
| Scaling Approach | Vertical (upgrade VPS size) or horizontal (add VPS nodes) | Horizontal auto-scaling with sophisticated policies |
| VPS Suitability | Excellent for 3–5 node clusters | Better suited to managed cloud platforms |
| Service Discovery | Built-in; automatic container registration | Built-in (kube-dns); more sophisticated |
| Persistent Storage | Docker volumes + external storage | Multiple persistent volume types |
| Cost on VPS Infrastructure | Low; minimal additional overhead | High; requires multiple large VPS instances |
| Community Ecosystem | Smaller but growing community | Large enterprise-driven ecosystem |
When Kubernetes Is Overkill
Kubernetes is powerful for managing massive container deployments, but it introduces significant complexity that most teams don’t need. Knowing when Swarm is enough and when Kubernetes is necessary helps you make the right architectural decisions.
Kubernetes Complexity vs. Swarm’s Simplicity
Kubernetes (K8S) is the industry standard for large-scale container orchestration, managing workloads across hundreds of nodes with sophisticated scheduling and scaling. But Kubernetes is vastly more complex than Docker Swarm. A minimal Kubernetes cluster requires 3–5 nodes and includes a control plane (API server, scheduler, etcd distributed storage), kubelet daemons on every node, multiple networking components, and numerous supporting services. Even a “simple” Kubernetes setup involves dozens of concepts, pods, services, ingresses, deployments, StatefulSets, namespaces, and requires deep systems knowledge to operate reliably.
For many VPS users, small teams, startups, and agencies running customer applications, Kubernetes introduces operational overhead that exceeds its benefits. The operational complexity alone (learning, maintaining, upgrading) consumes significant engineering time without delivering proportional value for small deployments. Swarm offers 80% of the functionality most teams need at 20% of the complexity. You manage container orchestration on VPS instances you already own, deploy with familiar Compose files, and keep operational burden manageable.
Typical Growth Path: Compose → Swarm → Kubernetes (or Managed Cloud)
The natural progression for growing applications is: start with Docker Compose on a single VPS for development and early production, move to Swarm when you need high availability and multi-node distribution, and only move to Kubernetes if you outgrow Swarm’s capabilities or join a larger organization with dedicated DevOps teams. Each step adds complexity in exchange for new capabilities. Jumping straight to Kubernetes from single-host Compose is a common and costly mistake; you gain tools you don’t need and lose tremendous time to operations instead of application development.
If you do outgrow Swarm, consider managed Kubernetes offerings (AWS EKS, Google GKE, DigitalOcean Kubernetes) rather than self-hosting Kubernetes on VPS instances. Managed services handle control plane maintenance, automatic upgrades, and scaling, reducing operational burden. Niya Digital’s VPS is an excellent stepping stone: run production workloads on Swarm, develop DevOps expertise, and if you outgrow it, you have the knowledge to migrate to a managed platform.
Backup, Recovery & Maintenance
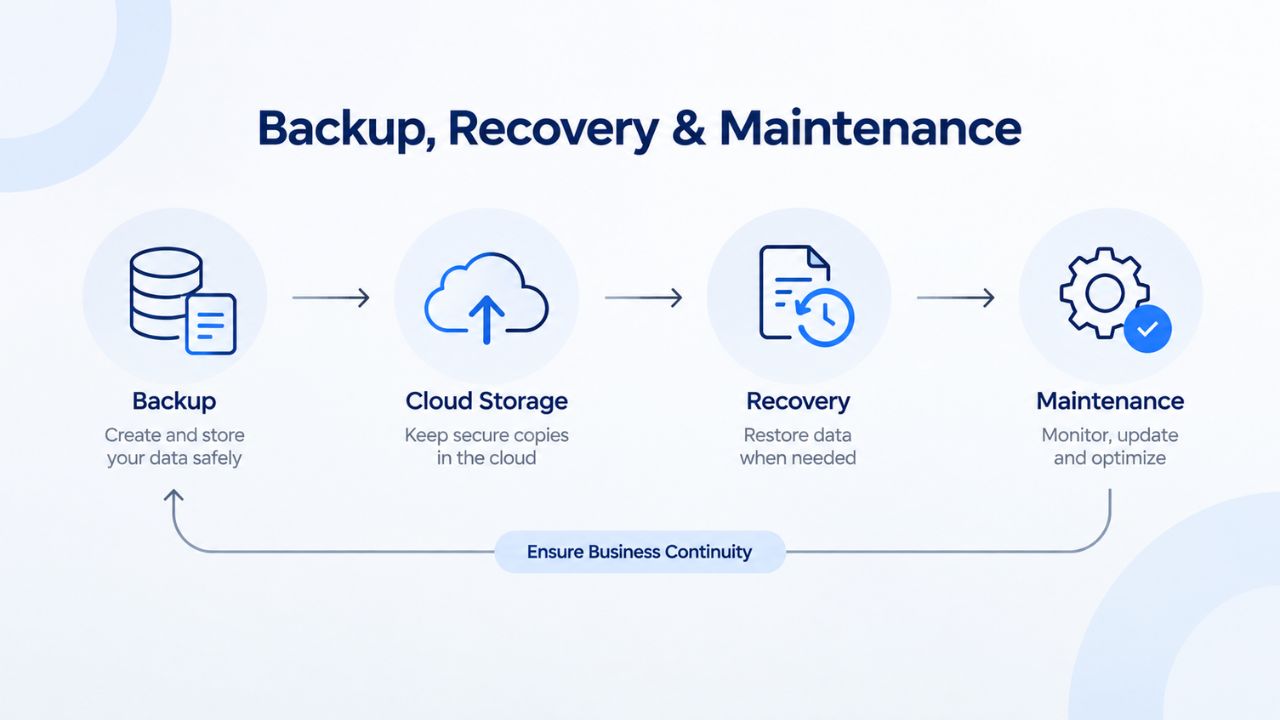
Protecting your containerized application requires multiple layers: snapshots of the entire VPS for rapid recovery, persistent data backups separate from snapshots, and regular testing of recovery procedures to verify they work when needed.
VPS Snapshots as Disaster Recovery
Niya Digital’s VPS plans include snapshot backups that capture the entire server state at regular intervals. If a container update introduces a critical bug, a misconfiguration corrupts your stack, or a security incident requires a rollback, restoring from a snapshot is fast and reliable. Snapshots also protect against hardware failures: if the underlying physical server experiences a disk failure, snapshots let you recover without data loss. Compared to rebuilding from scratch, snapshot restoration typically completes in minutes rather than hours.
Create manual snapshots before major changes, upgrading the Docker daemon, applying kernel updates, or deploying a new version of a critical service. Test snapshot restoration occasionally to verify recoverability; a snapshot that can’t be restored is worthless and creates false confidence. Keep multiple snapshots (daily for a week, weekly for a month) to balance recoverability options against storage costs. Snapshot policies should reflect your application’s criticality and your recovery time objective.
Persistent Data Backups Separate from Snapshots
Snapshots back up the entire server, but relying on them alone for data recovery is risky. A snapshot is a point-in-time image of your entire VPS, including containers, code, and data volumes. If a container’s database is corrupted and you don’t notice for a day, your snapshots contain the corrupted data. Separate persistent data (databases, user uploads, application files) from snapshots with dedicated backups: export database dumps daily, replicate volumes to object storage (S3-compatible), and store backups in a geographically distant location.
Docker volumes store persistent data; back them up separately from the snapshot. A simple and effective approach: run a nightly cron job that mounts your database volume, exports a SQL dump to object storage, and verifies the export is readable. If disaster strikes, you can restore the VPS from a snapshot and restore the database from a recent dump, combining both recovery mechanisms. This layered backup approach is more resilient than any single mechanism alone.
Start Running Docker Containers on a Reliable VPS
Niya Digital’s VPS Hosting service provides the infrastructure and support you need to run Docker containers reliably in production. Choose self-managed plans with full root access for technical teams that prefer complete control, or fully managed plans with dedicated support for teams that prioritize operations outsourcing. Scale seamlessly from development deployments to production workloads. Every plan includes SSD storage, snapshot backups, and unlimited traffic.
Frequently Asked Questions
Can I run Docker on shared hosting instead of a VPS?
Not reliably. Shared hosting doesn’t provide root access, restricts installed software, and shares kernel resources with other users. Docker requires full administrative control over the operating system. A VPS is the minimum viable platform for production Docker deployments.
How much storage do I need for Docker containers?
Plan for container images, running container layers, persistent data volumes, and logs. A small production stack typically needs at least 40–100 GB of SSD storage. Each container image ranges from 100 MB (Alpine Linux) to several gigabytes (full OS distributions). Monitor disk usage with docker system df and plan to clean up unused images monthly.
Does Docker run faster on NVMe vs. SATA SSD?
Yes, significantly faster for database-heavy workloads and image pulls. NVMe delivers 3–5× faster I/O than SATA, directly benefiting container startup time, database performance, and build cache operations. All Niya Digital VPS plans include NVMe SSD by default.
What’s the difference between self-managed and fully-managed VPS for Docker?
Self-managed means you handle all server administration, patching, monitoring, and troubleshooting. Fully managed includes a dedicated support team that handles these tasks, freeing you to focus on containerization. Choose self-managed if you have in-house DevOps expertise; choose fully managed if you prefer outsourcing infrastructure operations.
Can I upgrade my VPS plan without downtime?
Yes. Most hosting providers, including Niya Digital, allow live resource upgrades, increasing CPU, RAM, or storage, without restarting. Your containers continue running. Plan for brief I/O pauses during the upgrade, but full downtime is rare.
Do I need Kubernetes or is Swarm enough?
For most teams, Swarm is sufficient. Swarm handles multi-node orchestration, load balancing, and failover for 2–20 node clusters. Move to Kubernetes only if you need advanced features (canary deployments, multi-region management, auto-scaling policies) or run hundreds of containers across many nodes.
How often should I snapshot my VPS?
Daily snapshots for production environments, with weekly archives kept for 1–2 months. Test snapshot restoration monthly to verify they’re actually usable. Combine snapshots with persistent data backups (database exports, volume replication) for comprehensive disaster recovery.
Can I run Windows containers on a VPS?
Yes, if you provision a Windows Server VPS. Windows containers require Windows Server 2016 or later and consume significantly more resources than Linux containers. For most workloads, Linux containers on a Linux VPS are more cost-effective and efficient.
What’s the minimum VPS spec for Docker?
1 vCPU, 2 GB RAM, and 20 GB SSD for development and lightweight production. A 2 vCPU / 4 GB RAM plan is recommended for any multi-container stack in production. Right-size based on real resource monitoring, not theoretical minimums.
How do I handle container secrets (passwords, API keys) securely?
Never hardcode secrets in images or Compose files. Use Docker secrets (in Swarm) or external secret managers. At minimum, pass secrets via environment variables from a secure configuration, not from version control.
Is VPS hosting suitable for microservices?
Yes, especially with Docker Swarm orchestration. A multi-VPS Swarm cluster can run 20–100+ microservices reliably. Start with 3 VPS instances (one manager, two workers) and scale from there.
What monitoring tools integrate with Docker containers?
Prometheus and Grafana work well; cAdvisor provides per-container metrics. Simple monitoring via docker stats works for getting started. Niya Digital’s fully-managed VPS tier includes monitoring and alerting as part of the service.
How do I automate container deployments on VPS?
Use Docker Compose or Swarm stack files in version control, and trigger deployments via CI/CD pipelines (GitHub Actions, GitLab CI, Jenkins). Pull the latest code, build the image, and redeploy with docker stack deploy or docker-compose up -d.
Can I move containers between VPS providers?
Yes. Container images are portable: pull from one registry, push to another, and run anywhere Docker is installed. Your VPS infrastructure matters less than the image itself, which is Docker’s core value proposition.
What’s the typical cost comparison: Docker on VPS vs. managed Kubernetes?
Managed Kubernetes services (AWS EKS, Google GKE) add operational simplicity but typically cost 2–3× more per month than self-managed Docker on VPS. Use managed Kubernetes when your team lacks DevOps expertise or when your workload requires sophisticated orchestration features.
Glossary
- VPS (Virtual Private Server): A virtualized server instance with dedicated CPU, RAM, and storage resources, isolated from other users on shared physical hardware. Provides more control and resources than shared hosting while remaining more affordable than a fully dedicated server.
- Container: A lightweight, isolated package containing application code, a runtime environment, and all dependencies needed to run that application. Containers share the host’s kernel via Linux namespaces and cgroups, making them more efficient than virtual machines.
- Docker: An open-source containerization platform and ecosystem for building, shipping, and running containers. Docker automates application deployment and scaling of containerized applications.
- Root Access: Administrator-level permissions on a server, allowing full control over operating system configuration, software installation, and system settings. Root access is typically obtained via SSH with key-based authentication.
- Namespace (Linux): A kernel feature providing process-level isolation for network, file system, process ID, and user ID spaces. Namespaces are the foundation of process isolation in container technology.
- cgroups (Control Groups): A Linux kernel feature that limits and allocates CPU, memory, disk I/O, and network resources to processes or containers. Cgroups prevent one container from exhausting shared resources.
- NVMe SSD: Non-Volatile Memory Express solid-state drive with significantly faster random read/write performance than SATA SSDs. NVMe is critical for container image performance and database operations.
- Snapshot: A point-in-time backup of a VPS disk state, allowing quick recovery of the entire server if configuration fails or hardware malfunction occurs. Useful for disaster recovery and roll-back scenarios.