
Niya Digital is an authorized reseller of CodeGuard (GoDaddy Website Backup)-powered website backup services, not an operator of independent backup infrastructure. Overall data safety depends on many factors outside any single provider’s control: backup frequency, how quickly you discover an issue, hosting conditions, and credential practices. Safe restoration is a process, not a guarantee.
Why Restores Fail, And What Goes Wrong
A backup sitting in storage is worthless if it doesn’t restore when you need it. Many businesses discover this too late, after choosing the wrong restore point, restoring corrupted data, or testing a backup for the first time in production. Understanding common failure modes helps you avoid them and gives you confidence when an actual incident occurs.
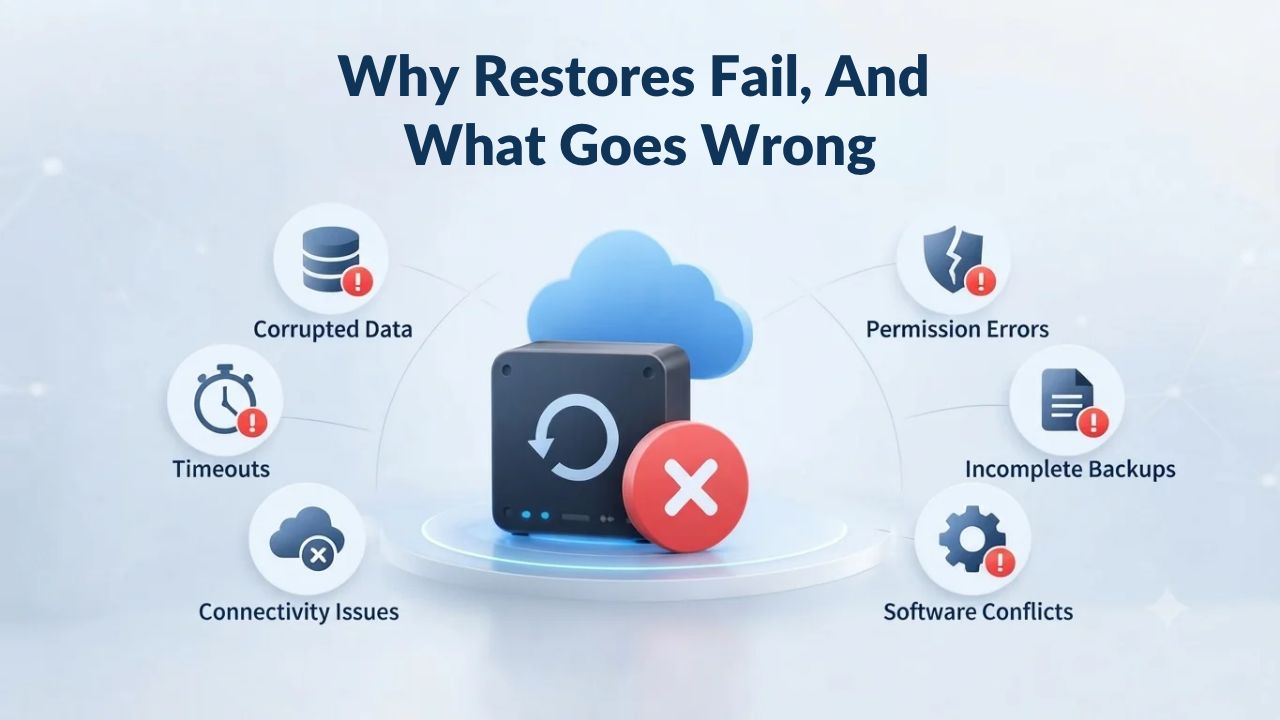
Choosing a Corrupted Backup by Mistake
The most dangerous restore mistake happens silently. You restore what you think is a clean backup, the site comes back up, and hours later users report that content is still broken or corrupted. This occurs when the backup itself contains corrupted data, perhaps the corruption spread across multiple backup cycles before anyone noticed, or a database issue was captured in the backup without detection. The site looks normal after restore, but the underlying problem persists, waiting to disrupt users and operations.
Niya Digital’s team has found that corrupted backups often go undetected until after a restore deploys to production and users interact with the site, triggering broken content or missing data. Testing backups before relying on them in an emergency is the only reliable way to catch this scenario early. A staging test catches corruption immediately; production deployment catches it after your users are affected.
Restoring to the Wrong Point in Time
Another common failure: restoring a backup taken after the incident you’re trying to reverse. If malware infected your site on Monday at 2 PM and you don’t notice until Tuesday afternoon, restoring a Tuesday-morning backup still contains the malware. The same mistake happens when you restore from a backup taken after accidental deletion, after a failed update deployment, or after a migration that corrupted your data. In each case, the restored site has the same problem you’re trying to fix.
As a result, the restored site has the exact problem you’re trying to undo. You’ve spent time and effort on a restore that solves nothing, while your site remains offline or broken. Identifying the exact time an incident occurred- when the content was deleted, when the hack began, or when the update broke the site- is the critical first step to choosing a safe restore point. Without this timing information, you’re guessing, and guessing wrong means doubling your downtime.
Website Backup Plans & Pricing
Select the Website Backup package that best fits the size and peace of mind requirements of your website. Your data is safeguarded without going over budget thanks to our adaptable choices.
Website Backup 5 GB
Recommended for documents and files.
- Automatic daily backups
- Built-in daily malware scanning
- Back up a file, folder or an entire database
- Continuous security monitoring
- Downloads to local storage
- Easy one-click restore
- Secure cloud storage
- Expert 24/7 customer support
- One website per account

Website Backup 25 GB
Recommended for photos and music.
- Automatic daily backups
- Built-in daily malware scanning
- Back up a file, folder or an entire database
- Continuous security monitoring
- Downloads to local storage
- Easy one-click restore
- Secure cloud storage
- Expert 24/7 customer support
- One website per account
Website Backup 50 GB
Recommended for videos and multimedia.
- Automatic daily backups
- Built-in daily malware scanning
- Back up a file, folder or an entire database
- Continuous security monitoring
- Downloads to local storage
- Easy one-click restore
- Secure cloud storage
- Expert 24/7 customer support
- One website per account
Choosing the Right Restore Point
Selecting which backup to restore is half the battle and determines whether your recovery succeeds or fails. The “right” restore point is the most recent backup taken before the incident you’re trying to undo. Finding it requires understanding what happened and when, then matching that timeline to your available backups.
Identifying When the Incident Occurred
Pinpointing the time of an incident narrows down which backups are “safe” and which contain the problem. If a team member accidentally deleted a page, identify exactly when. If a plugin update broke the site, note the time the update was applied. If a hack compromised your site, trace back to when the intrusion likely started; this is often the hardest case, since you may not know for days or weeks that something went wrong.
Hosting logs, update timestamps, user reports, and your backup schedule all provide clues. A backup taken five minutes before the incident is safe; one taken five minutes after is not. The tighter you can pin down the incident window, the more recent (and therefore more complete) a restore point you can safely use. A one-hour incident window gives you one safe restore; a 24-hour window gives you multiple options, but they’re all one day old.
Matching Backup Frequency to Your Incident Response
Website backup frequency determines how granular your restore options are. If you back up daily, your restore points are 24 hours apart, so you might have to restore to a version from a day ago and lose a full day of content or data. If you back up hourly or every four hours, your incident window is narrower, and your restore is more precise, capturing more recent data and reducing how much you lose.
Knowing your backup schedule before an emergency means you’re not guessing which backups exist or how far back you need to go. CodeGuard (GoDaddy Website Backup)’s backup scheduling lets you choose daily, weekly, or custom intervals, depending on your plan. Hence, the frequency you choose during setup determines your restoration precision when an incident occurs. High-traffic sites benefit from hourly backups; sites with less frequent updates can often live with daily backups.
| Incident Type | Recommended Restore Point | Key Timing Consideration |
|---|---|---|
| Accidental deletion (pages, posts, files) | Most recent backup before deletion occurred | Identify exactly when deletion happened |
| Malware or hack compromise | Earliest safe backup before compromise began | Compromise window often unclear; err on older side |
| Failed plugin, theme, or core update | Backup taken just before the update was applied | Update timestamp critical; restore immediately pre-update |
| Database corruption or data integrity issue | Most recent full backup (incremental less reliable for corruption) | Full backups more trustworthy than incremental chains |
| Server, hosting, or infrastructure failure | Most recent available backup (time since backup matters most) | Newer backups have less data loss; oldest available if needed |
| Website migration or hosting move gone wrong | Pre-migration full backup; safest anchor point | Backup must predate the migration start |
| Ransomware or encrypted files attack | Oldest backup available that predates encryption | Maximize data freshness; avoid encrypted restore points |
Verifying a Backup Before Restoring
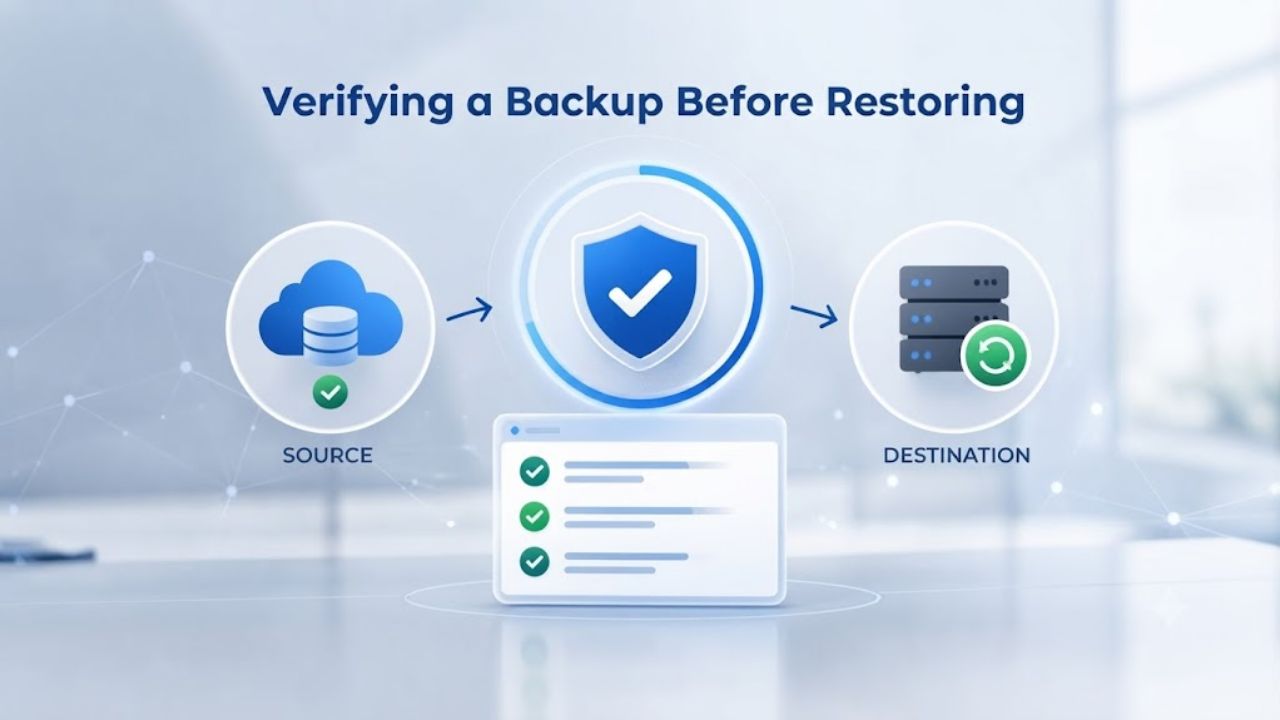
A backup that looks complete might fail silently during restore, leaving your site broken in ways that only appear after deployment. Verifying a backup in a safe environment before deploying to production catches these failures before they affect live users and your reputation.
Understanding Backup Integrity Checks
Backup integrity means the saved files and database are complete, uncorrupted, and actually restorable. A backup might appear to complete successfully but contain corrupted database records, missing files, or incomplete incremental snapshots. The only way to confirm integrity is to attempt a restore in a safe environment and verify that the restored files and database function correctly.
Most backup systems can report the backup size, timestamp, and completion status, but these metrics don’t guarantee the backup is usable. A 5 GB backup file might be incomplete, a database backup might have corrupted tables, or file permissions might be wrong post-restore. Actual testing is the only reliable check. Size and timestamp tell you nothing about whether a restore will actually work.
Test Restores in a Staging Environment
The safest way to verify a backup is to restore it to a staging or test environment, a copy of your site that runs on separate infrastructure and isn’t visible to users. A test restore takes the same time as a production restore, reveals the same problems, and carries zero risk to live traffic. After restoring to staging, run automated checks on critical workflows: Can you log in? Do product pages load? Do database queries return the right data? Do file downloads work?
If anything fails in staging, you catch it before deploying to production. If everything works, you can be confident the real restore will succeed. Staging testing is the insurance policy that transforms a restore from a risky gamble into a controlled, known process. Many teams skip staging once, then learn that lesson the hard way.
Full-Site vs. Incremental Restore: Speed and Completeness Tradeoffs
Two types of backups offer different restore speeds and data coverage. Understanding the difference helps you choose the right restore point and set realistic recovery timelines, managing both technical expectations and business communication.
Full-Site Backups: Complete But Slower
A full-site backup captures every file and database record as it existed at that moment. Restoring a full backup returns your site to an exact state at a known point in time. The tradeoff is size and restore time: a full backup of a large site might be gigabytes, and restoration can take hours depending on site size, hosting infrastructure speed, and database complexity.
Full backups are safest when restoring after an incident you don’t fully understand or when you need to return to a known-good state. Because a full backup is self-contained, it doesn’t depend on other backups or incremental snapshots. If your incident happened weeks ago and you need to restore very far back, a full backup from before the incident is your best option. Incremental chains break easily; full backups are robust.
Incremental Backups: Faster Restore, Recent Data
An incremental backup captures only changes since the last full backup, reducing file size and restore time. If a full backup is 10 GB and you have three incremental backups of 1 GB each, restoring involves deploying the full backup plus all three incremental layers. CodeGuard (GoDaddy Website Backup) incremental backups mean faster restore deployments and less server I/O overhead during restoration, getting your site back online sooner.
The risk of incremental backups is dependency: if one incremental layer is corrupted or missing, the entire restore chain breaks down. For this reason, incremental restores require careful verification that all layers exist and are uncorrupted before you commit to a restore. If you’re restoring to a point within the last few days, incremental is usually faster and more efficient. If you’re restoring far back, or if you doubt chain integrity, a full backup is more reliable.
Testing a Restore Safely in a Staging Environment
Before your site goes live again after any restore, you need to verify it actually works in realistic conditions. Testing on production is too risky; testing in staging catches problems before users see them and before they cascade into bigger issues.
Setting Up a Staging Copy for Testing
A staging environment is a separate, non-public copy of your website on test infrastructure. You can restore a backup to staging without affecting live users, run thorough testing, find problems, and only then restore to production if testing passes. NIST cybersecurity standards recommend this exact process for disaster-recovery testing, isolating tests from production before full deployment to minimize risk.
Setting up staging can be as simple as copying your site’s files and database to a test server under a different URL. Some hosting providers or managed-backup services offer built-in staging features, with one-click restore to staging. The goal is a functionally identical copy where you can safely experiment without consequences. After testing confirms the restore works, you can deploy to production with confidence and know what to expect.
Testing Critical Workflows Before Going Live
A staging restore gives you a chance to run realistic tests before touching production. Log in as different user roles to verify authentication. Try purchasing a product if you have an online store. Download a file to confirm links work and files are accessible. Check that database queries return correct data and performance is acceptable. Run these tests on staging; fix any problems you find; only then proceed to production with confidence.
Testing typically takes 1–4 hours for a small-to-medium site, depending on how thoroughly you want to check functionality. The time investment pays off because you catch silent corruption, missing data, or configuration problems before they affect customers. Many restore failures go undetected until users report broken pages, missing products, or unexpected data; staging testing catches these before the restore is live.
| Verification Step | What to Check | Why It Matters |
|---|---|---|
| Identify incident & establish timeline | Note the exact time/date of the problem; research logs and timestamps | Choosing the wrong restore point means the problem persists in the restored site |
| Select appropriate restore point | Choose the most recent backup before the incident began | Restoring to after the incident defeats the entire purpose of the restore |
| Verify backup integrity pre-restore | Confirm the backup file is complete, not corrupted, and reports successful completion | A corrupted backup restores silently but leaves broken data in place |
| Restore to staging environment first | Deploy the backup to a test server, not production | Staging testing catches failures and corruption before they affect users |
| Test critical site workflows | Log in, view content, run purchases/transactions, download files, check database queries | Silent corruption often manifests only during actual use, not just loading pages |
| Run database consistency checks | Execute database integrity tools (MySQL `CHECK TABLE`, PostgreSQL `REINDEX`) | Mismatched tables or broken relationships break the site after live deployment |
| Verify file integrity & permissions | Confirm all files are readable and executable; test file uploads and writes | Wrong file permissions mean web server can’t read files or scripts can’t write |
| Check post-restore logs for errors | Review error logs immediately after restore deployment | Configuration mismatches, missing dependencies, or permission issues show up in logs |
| Monitor user reports & behavior | Watch support channels and analytics for anomalies in first hour after restore | Real-world usage catches problems that testing might miss |
Get Protected With Niya Digital
A safe restore needs the right backup and verification before deployment. Niya Digital provides automated backups and hands-on restoration support. You’re not managing this alone; our team helps you choose the right restore point and supports recovery so you can get your site back online quickly and safely.
Database Restoration and Consistency Concerns
Websites store data in two places: files on disk and database records. A complete restore requires both components working together, and database consistency is critical; mismatched files and database can leave your site broken even after a successful restore and thorough testing.
Database Corruption and Silent Data Loss
A database backup captures tables, records, users, posts, and settings at a specific moment. If the database is corrupted before the backup, the backup captures the corruption and restores it. If the restore doesn’t properly rebuild database indexes or tables, it might succeed but leave the database in an inconsistent state where data exists but queries can’t find it.
After a database restore, the restored database might have missing tables, orphaned records, or broken relationships. These problems might not surface immediately; they appear only when code queries broken relationships or tries to access missing data. A corrupted database that looks complete can mask problems for hours or days after restore, creating a false sense of security before users discover the broken functionality.
Verifying Database Integrity Post-Restore
After any restore, running database integrity checks confirms that tables, indexes, and relationships are consistent and correct. Most database systems include built-in integrity tools, MySQL has CHECK TABLE and REPAIR TABLE, and PostgreSQL has REINDEX. Running these after a restore on staging catches corruption before production and prevents a cascading disaster.
CodeGuard (GoDaddy Website Backup) one-click restore deploys both files and database together from the same backup snapshot, maintaining consistency between the two components. However, verifying the restored database still confirms that no corruption occurred during restore or existed in the backup. This step is fast and critical; a few minutes of verification can prevent hours of downtime from database corruption discovered post-deployment.
File Restoration and Missing Links
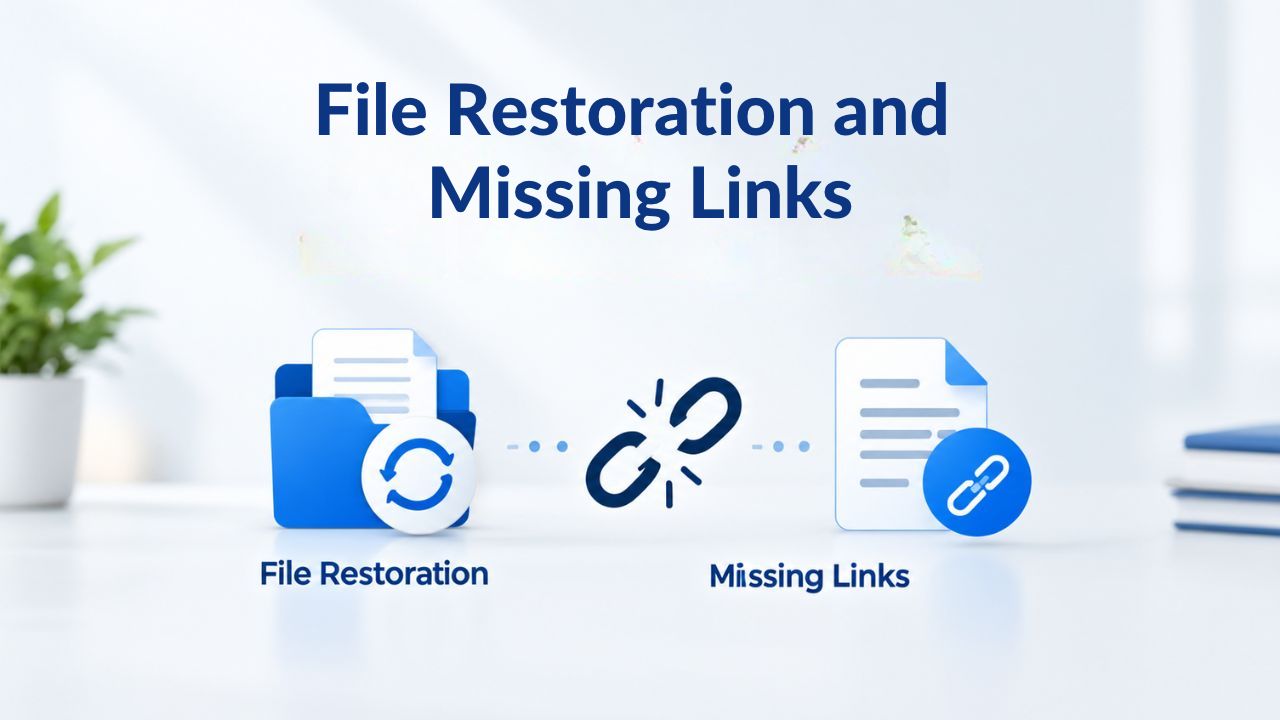
Website files include HTML, images, code, and plugins. A restore that brings back files but with missing or broken links leaves your site partially broken, with 404 errors, missing images, broken stylesheets, or non-functioning plugins. Users see a site that appears to load but feels broken and incomplete.
Detecting Missing or Broken Files After Restore
Files might be missing after restore if the backup was incomplete, if file permissions are wrong post-restore, or if file paths changed during a migration or hosting move. These problems manifest as 404 errors (page not found), broken images, missing stylesheets that break page layout, or non-functioning plugins that cause JavaScript errors. Users see a site that should work but doesn’t.
Checking file integrity after restore means verifying that all critical files exist and are readable by the web server. A test restore to staging lets you click through the site, run link-checking tools, and confirm that images, stylesheets, and plugins are all in place and functional. Missing files show up immediately in staging as 404s or broken functionality; on production, they frustrate customers and damage trust.
File Permissions and Ownership After Restore
Restoring files also means restoring their permissions and ownership, the rules that determine who can read, write, or execute each file. If permissions are wrong post-restore, web-server processes can’t read files, scripts can’t write to directories, or file uploads fail silently. Your site might load but break when it tries to write or execute files.
Testing file operations in staging- uploading a file, writing to a cache directory, running scripts- catches permission problems before production. These issues are usually quick to fix once identified, but deploying to production without testing means discovering them when customers report failures or uploads stop working. Permission issues are silent killers; they often look like missing functionality rather than permission problems.
Restore Timelines and Downtime Expectations
Understanding how long a restore takes helps you set realistic recovery expectations and plan communication with customers and stakeholders during downtime. Surprise downtime damages customer trust; transparent, expected downtime is professional.
Typical Restore Durations by Site Size and Backup Type
Restore time depends on several factors: backup size, the hosting server’s I/O speed, database size, and whether you’re restoring a full or incremental backup. A small site (under 1 GB) might restore in minutes; a large site (10+ GB) might take hours. Typical CodeGuard restore times range from minutes for incremental restores to several hours for full-site restores of large databases and file archives.
Incremental restores are faster because they’re smaller and require less data transfer. Full-site restores are slower but self-contained and safer. Database size is often the limiting factor; if your site stores millions of customer records, rebuilding that database after restore can take significant time. Planning for worst-case restore duration (several hours) ensures you’re not surprised when recovery takes longer than expected.
Minimizing Downtime During Restore
During a restore, your site is typically offline or read-only. Minimizing downtime requires planning: quickly identifying a restore point, having a tested backup ready, and executing the restore with confidence. Some hosting setups allow parallel infrastructure, spinning up a temporary server while the restore completes on the main server, then switching back once verified.
Communicating transparently to customers and stakeholders about expected downtime reduces frustration and protects your brand. A message stating “We’re restoring from backup; expect to be back online in [timeframe]” sets expectations better than leaving them guessing or discovering downtime through failed transactions. The faster you can restore and verify, the sooner you can return to normal operation and regain customer confidence.
Post-Restore Verification and Monitoring
A successful restore isn’t complete until your site is live again and functioning normally. Post-live verification catches problems staging tests might have missed or that emerge only under live traffic.
Immediate Checks After Restore Goes Live
Once you deploy a restore to production and the site is live again, run immediate checks to confirm everything works: Can users log in without errors? Do critical pages load without displaying database errors? Are database queries returning correct data? Are there any error spikes in your logs? Running these checks in the first few minutes after going live catches problems early before they cascade.
Set up monitoring and alerts that notify you if error rates spike above normal, response times degrade significantly, or critical endpoints stop responding. If problems surface immediately post-restore, you can roll back to the previous state or investigate before users encounter widespread issues. The first hour after going live is critical for catching restore-related problems before they affect your customer base.
Monitoring User Reports and Site Behavior
In the hours and days after a restore, monitor user reports, customer support tickets, and site logs for any anomalies. Users might report missing data, broken workflows, or unexpected behavior that your testing didn’t catch. Keep monitoring tools active to track traffic patterns, error rates, and performance metrics, and respond quickly if something goes wrong.
Document what users report so you can investigate whether the problems existed in the backup, were introduced during restore, or are unrelated issues. This information helps you improve your restore process for future incidents and builds confidence in your backup and recovery capabilities. A flawless restore, supported by clear communication and attentive monitoring, builds organizational trust in your recovery procedures.
Incident-Response Planning and When to Restore
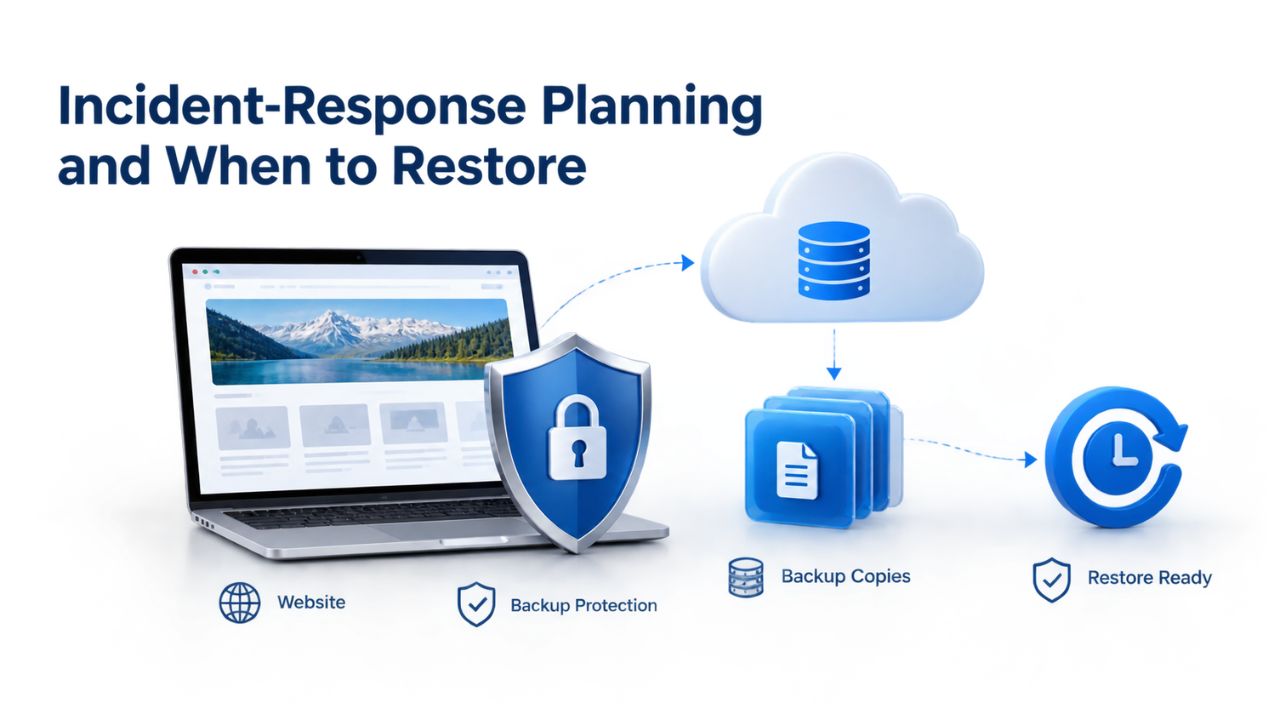
Knowing in advance when to restore versus when to remediate in-place, and having a tested runbook, makes the difference between a quick recovery and extended downtime or data loss. A plan tested before an emergency is a plan that actually works when you need it.
Decision Criteria for Restore vs. In-Place Remediation
Not every incident requires a restore. If a plugin broke your site, you might uninstall the plugin and stay live. If a single page was deleted, you might recover it from version control. Restores are best for incidents where in-place fixes are risky or impossible: catastrophic data loss, complete system compromise, hosting/server failure, widespread corruption, or ransomware attacks.
Deciding quickly requires knowing your options in advance. Which incidents are reversible with code changes? Which require a restore? What’s your rollback strategy? Pre-planning these decisions during normal times means you’re not making them under pressure during an actual incident. Document your incident-response criteria so any team member can make sound decisions quickly, without second-guessing or overthinking in a moment of crisis.
Building a Tested Runbook for Recovery
A runbook is a step-by-step procedure for responding to an incident: who gets notified, which restore point to target, how to execute the restore, and what verification steps follow. Before you need it, test your runbook in a staging environment to confirm it works end-to-end. An untested runbook is just a document; a tested runbook is a safety net.
A tested runbook turns a crisis into a controlled process. When an incident occurs, you’re not figuring out what to do; you’re executing a known, practiced sequence. This confidence, combined with hands-on support from your backup provider like Niya Digital’s restore support team, means you can recover quickly and correctly. A crisis becomes a planned procedure, and a planned procedure is something a team can execute calmly under pressure.
Restore Confidently With Expert Support
Your backup is only as good as your confidence in restoring it. Niya Digital’s Website Backup Service, powered by CodeGuard (GoDaddy Website Backup), includes hands-on support when you restore. From choosing the right restore point to verifying it before going live, our team is with you every step of the way. Don’t face a restore emergency alone.
Frequently Asked Questions
What is a restore point?
A restore point is a saved backup snapshot taken at a specific moment in time. When you restore a website from backup, you’re choosing which restore point to deploy- ideally, the most recent backup before an incident occurred.
Your backup service retains multiple restore points (daily, weekly, or monthly) so you can revert to different moments in time depending on when an incident started. Choosing the correct restore point is critical because restoring to a point after an incident means the problem is still in the backup.
How do I know if my backup actually works?
Test your backup by restoring it to a staging or test environment, a non-production copy of your site, and running through critical workflows: login, content display, database queries, file downloads, and any custom features your site uses. If testing passes in staging, you can be confident the backup works. Testing is the only reliable way to discover corruption, missing files, or configuration problems before they affect production.
How long does a website restore typically take?
Restore duration depends on site size, hosting infrastructure speed, and backup type. Small sites (under 1 GB) might restore in minutes; large sites with big databases can take hours. Incremental backups restore faster because they’re smaller. Full-site backups are larger but self-contained. Plan for the worst case (several hours), not the best case, so you’re not surprised by extended downtime.
Can I restore just the database or just the files?
Yes, most backup systems let you restore the database only or the files only, though restoring both together is usually safer to maintain consistency. If only your database is corrupted, you can restore the database and keep the current files. If only files were damaged (e.g., a plugin was deleted), you might restore files only. However, selective restores carry risk: mismatched files and database can leave your site broken or inconsistent.
What happens if the restore fails?
If a restore fails, the backup might be corrupted, the restore process might have encountered an error, or infrastructure might have failed during restore. This is why testing backups in staging first is critical; you discover failures in staging where no users are affected. If production restore fails, you have backups and logs to investigate. Keep multiple older backups available, so if a recent backup is corrupt, you can try an older restore point.
Should I delete old backups to save storage space?
Keep backup retention as long as your plan allows. Old backups let you restore to far-back points if an incident goes unnoticed for days or weeks. Some compliance requirements also mandate retention periods; you might need to keep backups for 30, 60, or 90 days for audit or legal reasons. Check your plan’s retention window and understand your compliance obligations before deleting any backups.
Can a restore affect my site’s search engine rankings?
Restoring a hacked or corrupted site usually protects rankings better than leaving it broken, since search engines penalize hacked or defaced sites more than they penalize content changes from a restore. However, if the restore changes URLs, removes content, or resets metadata, temporary ranking fluctuations during re-indexing might occur. After a restore, you can notify search engines (via Google Search Console) of significant changes to help speed re-indexing and minimize ranking impact.
What should I do immediately after a restore goes live?
After a restore goes live, immediately verify that users can log in, critical pages load correctly, database queries return the right data, and your logs show no error spikes. Set up monitoring to alert you if error rates spike or response times degrade. Continue monitoring for user reports of missing data or broken workflows in the hours after restore. The first hour after going live is critical for catching restore-related problems.
Do I need to notify my customers about a restore?
Transparency builds trust. If your site was down during restore or if data was lost and rolled back, informing customers about the incident and recovery is professional and sets expectations. A simple message (“We experienced an outage at [time] and recovered using backups. We apologize for any inconvenience”) is better than silence. For minor updates or restores that didn’t affect functionality, customer notification might not be necessary.
How often should I back up my website?
Backup frequency depends on how much data you generate daily and how much data loss you can tolerate. Daily backups are standard for most small-to-medium sites. A site with high traffic, frequent updates, or mission-critical data should back up more often (multiple times daily or continuous backup). Niya Digital’s Website Backup Service plans offer flexible scheduling so you can choose a backup frequency that fits your site’s needs.
What’s the difference between a full backup and an incremental backup?
A full backup captures every file and database record, making it complete but large and slow to restore. An incremental backup captures only changes since the last full backup, making it smaller and faster to restore but dependent on a chain of backups. For critical incidents where you need to restore far back in time, a full backup is safer. For recent restores within the last few days, incremental backups are usually faster.
Can I restore to a specific point in time, or only to whole-day backups?
This depends on your backup schedule and retention. If you back up once daily, your restore points are 24 hours apart. If you back up hourly, you can restore to any hour. CodeGuard (GoDaddy Website Backup) scheduling lets you choose the granularity you need: daily, weekly, custom schedules, or continuous backup.
What if I accidentally deleted important data and discovered it weeks later?
If you discover data loss weeks later, you’ll need a backup taken before the deletion. If backups are retained for only 30 days and you discover the problem after 40 days, that backup might be gone. This is why backup retention windows matter: understand your retention period and keep enough backup history to recover from incidents you might discover late. Document your data-retention and incident-discovery processes so you know how far back you can safely restore.
How do I choose which restore point is the “safe” one?
The safe restore point is the most recent backup taken before an incident began. If malware infected your site on Monday at 2 PM, a backup from Monday at 1 PM is safe; a backup from Tuesday is not. If accidental deletion happened Wednesday morning, a Tuesday backup is safe. Identifying exactly when an incident occurred through logs, timestamps, and user reports narrows down which backups are safe and which contain the problem.
Is it better to restore to production directly or test first?
Always test first. Restore to a staging environment, verify functionality, fix any problems, and only then deploy to production. Testing catches silent corruption, missing data, and configuration issues before they affect customers. Restoring directly to production without testing is extremely risky; if something goes wrong, your users discover it, not you.
Glossary
- Backup: A copy of website files and database saved at a specific point in time, retained for recovery in case of data loss, corruption, or compromise.
- Restore Point: A saved backup snapshot chosen as the target for restoration, representing your website’s state at a known moment in the past.
- Incremental Backup: A backup containing only changes since the last full backup, reducing file size and restore time but depending on a chain of prior backups.
- Full Backup: A complete copy of all website files and database, self-contained and independent but larger and slower to restore than incremental backups.
- Off-Site Storage: Backup data stored on servers outside your hosting provider’s data center, protecting against hosting-level infrastructure failure or data-center outages.
- Staging Environment: A test copy of your live website running on separate infrastructure, used for testing restores and verifying functionality before production deployment.
- Restore Window: The time range during which restore points were captured and are available for recovery, determined by your backup retention period.
- Database: The repository storing dynamic site data (posts, users, orders, settings) that must be included in a complete restore alongside files.