
An SSL certificate sits on your web server and encrypts data traveling between your site and visitors’ browsers, replacing the “Not Secure” warning with a padlock icon. But purchasing a certificate is only half the job; installation is where many site owners stumble. Whether you’re using cPanel, running Nginx, managing WordPress, or working with a dedicated server, the core steps are the same: upload your certificate files and configure your server to use them.
Niya Digital’s SSL Certificates Service provides guidance and installation support through its reseller storefront for GoDaddy- and Starfield Technologies-issued SSL certificates. Niya Digital is an authorized reseller, not a Certificate Authority; GoDaddy/Starfield issues and validates the certificates under their own CA processes and browser trust-store programs. Website security depends on correct certificate installation, proper chain-of-trust configuration, and factors beyond any single provider’s control, so confirm installation has completed successfully before relying on encryption alone.
What SSL Installation Really Is
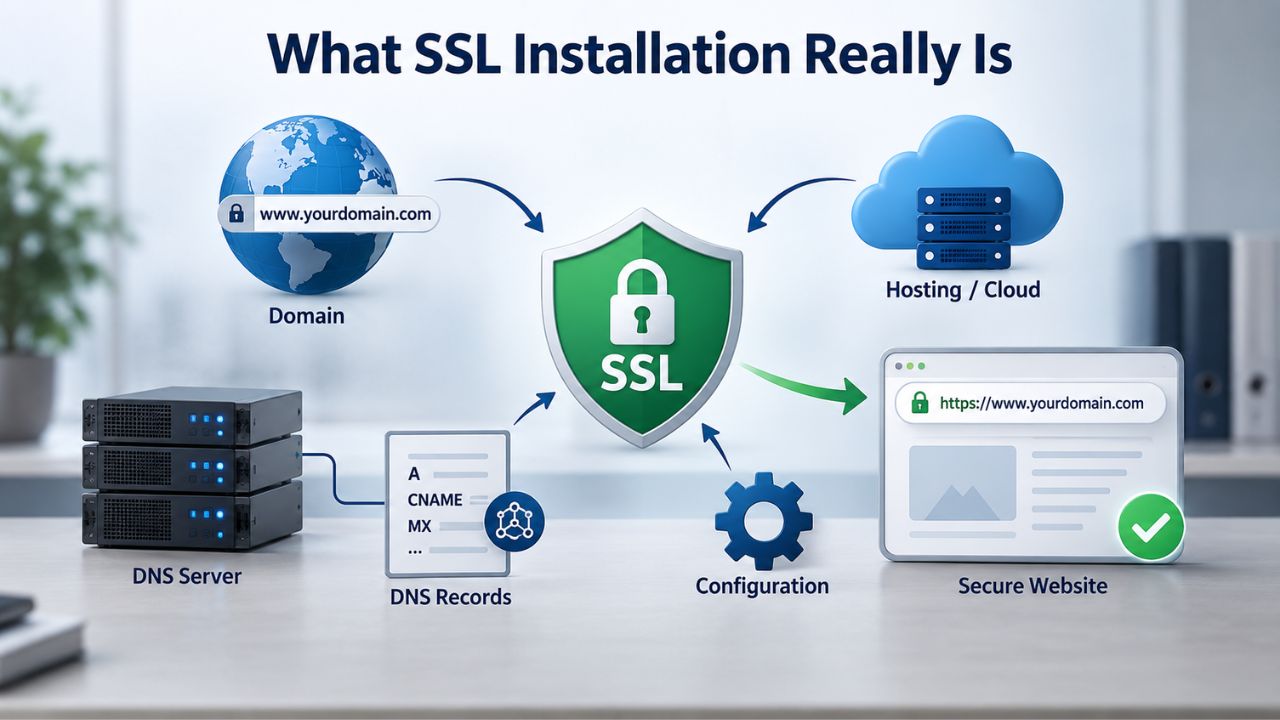
Installing an SSL certificate isn’t automatic when you purchase one. After a Certificate Authority validates your domain and issues the certificate, you receive a set of files you must upload to your web server and configure. The server then presents them during HTTPS connections. Installation steps vary by platform: cPanel users use a GUI control panel, Nginx administrators edit configuration files by hand, and WordPress users can often click a plugin button, but the underlying task is the same across all of them.
The three core pieces you’ll install
An SSL certificate package always contains three essential files. The first is your server certificate (often a .crt or .pem file), which is unique to your domain and tied to your private key. The second is your private key (.key file), which stays on your server and decrypts traffic; you never share it and must keep it secure. The third is the intermediate certificate bundle (or CA Bundle, often labeled ca_bundle.crt), which contains one or more intermediate certificates issued by the Certificate Authority. All three must be installed correctly for browsers to trust your site; missing or misconfigured files result in security warnings even if the certificate itself is valid.
The installation process is often simple, but it requires attention to detail. File paths must be correct, intermediate certificates must be included, and in some cases the server must be restarted for changes to take effect. Many installation delays and “not secure” warnings stem not from the issuance process, but from incomplete or incorrectly formatted certificate files during upload. Niya Digital’s team has found that missing CA bundle entries in cPanel or concatenation errors in Nginx configurations account for a large share of after-installation troubleshooting tickets.
Why server type matters
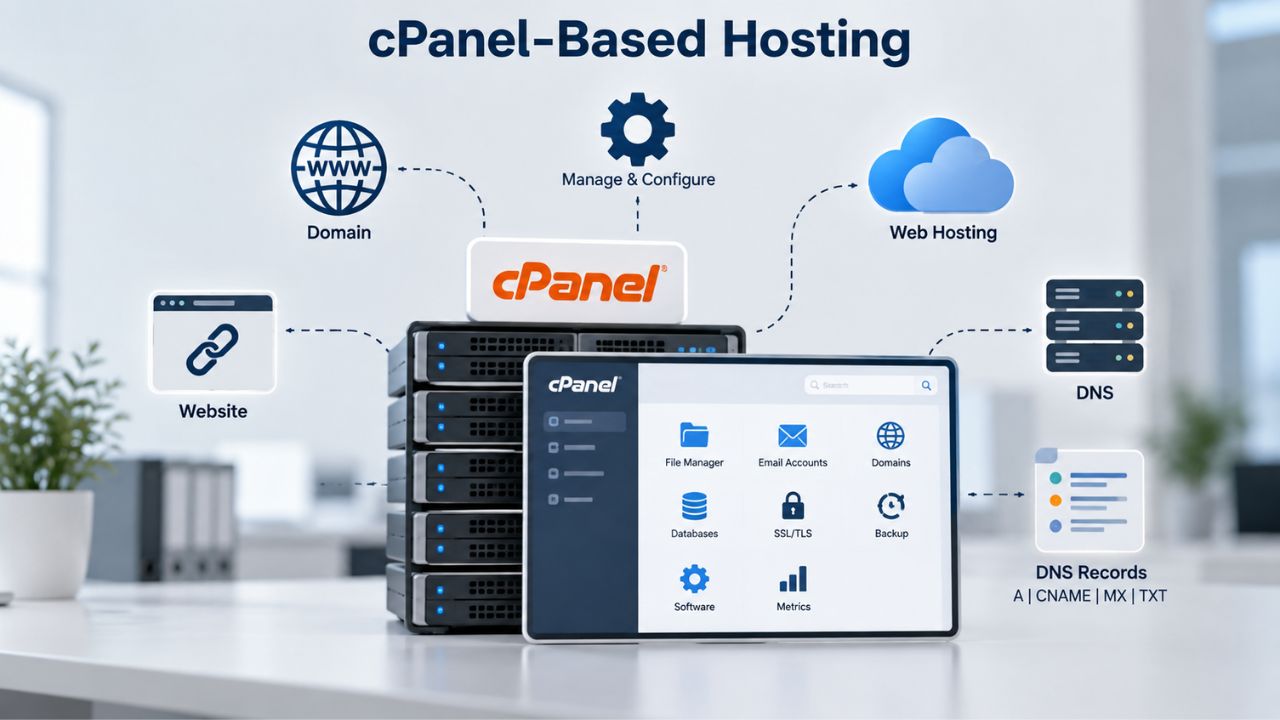
Different web servers use different installation methods because they store and reference certificates differently. cPanel is a control panel that sits on top of Apache and provides a user-friendly interface, so cPanel users interact with drop-down menus instead of configuration files.
Nginx and Apache administrators typically edit configuration files directly and restart the server from the command line. WordPress users can often use plugins that automate the installation entirely. Understanding your hosting setup is the first step toward a smooth installation.
SSL Certificate Plans & Pricing
Choose from a selection of SSL certificates designed to meet different website security and validation requirements. Find the right certificate to secure your website, protect sensitive information, improve search visibility, and build trust with your visitors.
Domain Validated (DV) SSL
(1-Site)
Protect 1 site.
- Domain validation
- SHA-2 & 2048-bit encryption.
- Boost SEO rankings
- Fast issuance in 5min
- Display HTTPS & padlock
- Security trust seal
- Support unlimited servers
- Free unlimited reissues
- $100,000 USD warranty
Domain Validated (DV) SSL
(5-Site)
Protect 5 sites.
- Domain validation
- SHA-2 & 2048-bit encryption.
- Boost SEO rankings
- Fast issuance in 5min
- Display HTTPS & padlock
- Security trust seal
- Support unlimited servers
- Free unlimited reissues
- $100,000 USD warranty
Extended Validation (EV) SSL
(1-Site)
Protect 1 site.
- Extended validation
- SHA-2 & 2048-bit encryption.
- Boost SEO rankings
- Display HTTPS & padlock
- Green address bar
- Security trust seal
- Support unlimited servers
- Free unlimited reissues
- $1,000,000 USD warranty
Extended Validation (EV) SSL
(5-Site)
Protect 5 sites.
- Extended validation
- SHA-2 & 2048-bit encryption.
- Boost SEO rankings
- Display HTTPS & padlock
- Green address bar
- Security trust seal
- Support unlimited servers
- Free unlimited reissues
- $1,000,000 USD warranty
Domain Validated (DV) SSL
(Wildcard)
Protect unlimited sub-domains.
- Domain validation
- SHA-2 & 2048-bit encryption.
- Boost SEO rankings
- Fast issuance in 5min
- Display HTTPS & padlock
- Security trust seal
- Support unlimited servers
- Free unlimited reissues
- $100,000 USD warranty
Pre-Installation Prerequisites
Before you attempt to install your certificate, make sure you have all the pieces in place. Issuing a certificate doesn’t automatically install it; that’s your responsibility. Taking five minutes to prepare will save you from common mistakes that delay activation.
Files you’ll need ready
When your Certificate Authority issues your certificate, you receive a download, usually a ZIP file containing the server certificate, intermediate bundle, and sometimes your private key. Open this ZIP and verify you have all three files: the certificate file (look for a .crt or .pem extension), the private key (.key), and the intermediate/CA bundle file. Some hosting providers generate the private key during the Certificate Signing Request (CSR) process and store it on the server already; in that case, you only need to download and upload the certificate and CA bundle. Check your CA’s email or download confirmation to know which files you’re responsible for handling.
Keep these files in a safe, accessible location on your computer until you upload them. If you’re working with a hosting provider’s control panel, you may be able to open the files in a text editor (like Notepad) and copy and paste the contents directly into the control panel. For server-based installations (Nginx, Apache), you’ll typically use SFTP or the command line to place files in secure directories. Either way, having the files ready before you start prevents fumbling and re-downloads mid-process.
Domain and server readiness checks
Verify that your domain is already pointing to the correct hosting server where you plan to install the certificate. If your domain’s DNS records still point to an old hosting provider, the certificate installation will succeed on your new server. However, your domain will still resolve to the old server, and visitors won’t see your secure site.
If you’ve recently switched hosts, give DNS changes time to propagate (typically up to 24 hours) before you begin installation. Also confirm that you have administrative access to your hosting control panel, server, or WordPress dashboard; you’ll need it to upload and configure files.
cPanel-Based Hosting
cPanel is the most common control panel for shared and reseller hosting. If your hosting provider uses cPanel (common with GoDaddy shared hosting, many smaller hosts, and many WordPress-specific hosts), the SSL certificate installation interface is user-friendly and mostly manual copy-paste. The process typically takes 10–15 minutes for users who have all files ready.
Accessing and preparing the SSL/TLS Manager
Log in to your cPanel account, typically via a URL like https://yourdomain.com:2083 or through your hosting provider’s portal. Once logged in, scroll down to the Security section and click SSL/TLS Manager. You’ll see several options; under “Install and Manage SSL for your site (HTTPS),” click “Manage SSL Sites.” This opens the interface where you’ll upload your certificate files.
Before pasting content, open each of your certificate files in a text editor (Notepad, TextEdit, or similar) and select all text. Make sure you include the full certificate content, including the —–BEGIN CERTIFICATE—– and —–END CERTIFICATE—– lines. Copy the text of your server certificate (the primary .crt file) and paste it into the Certificate (CRT) field. Then paste your private key (the .key file) into the Private Key (KEY) field. After pasting the certificate, click the “Autofill by Certificate” button next to the Certificate field; cPanel will attempt to automatically extract your domain name and match the private key, saving you manual entry.
Installing the certificate and verifying success
If the autofill succeeds, the Domain dropdown will populate with your domain, and the private key field will fill. If it doesn’t, you can manually select your domain from the dropdown and paste the private key into the field. Next, copy the contents of your CA Bundle file (the intermediate certificates provided by your CA) and paste it into the Certificate Authority Bundle (CABUNDLE) field. Once you’ve filled all three fields, click “Install Certificate.”
The installation is immediate. To verify it worked, visit https://yourdomain.com in a browser and check for the padlock icon in the address bar. If the padlock appears and you can click it to see certificate details, your installation is complete. If you see “Not Secure” or a warning, check the Troubleshooting section below.
| cPanel Installation Step | What You Do | Key Detail |
|---|---|---|
| Log in to cPanel | Access via https://domain.com:2083 or hosting portal | Administrative access required |
| Navigate to SSL/TLS Manager | Security section → SSL/TLS | Look for “Manage SSL Sites” link |
| Prepare certificate files | Open .crt, .key, ca_bundle.crt in text editor | Include BEGIN/END headers |
| Paste Certificate (CRT) | Copy entire certificate into CRT field | Click “Autofill by Certificate” to auto-extract domain and key |
| Paste Private Key (KEY) | Copy private key into KEY field | Manually enter if autofill doesn’t work |
| Paste CA Bundle (CABUNDLE) | Copy intermediate certificates into CABUNDLE field | Essential for complete chain of trust |
| Click Install Certificate | Finalize installation on server | Installation is immediate |
Nginx Server Installation
Nginx administrators manage SSL differently than cPanel users. Instead of a control panel, you edit Nginx’s configuration file directly and restart the server. This method gives more control and transparency, but requires command-line comfort. Installation typically takes 15–30 minutes, including time to test configuration syntax.
Placing certificate files and configuring paths
When you download your certificate from your CA for Nginx, select the “Nginx” download option if available; this will give you a chained certificate file (.chained.crt or .pem) that includes your server certificate and intermediate certificates in the correct order. Place this file in a secure directory, typically /etc/ssl/certs/ on Ubuntu or Debian systems.
Place your private key in /etc/ssl/private/, which should have restricted permissions (readable only by root). Use SFTP or SSH to transfer files if working remotely. Make sure the private key file permissions are set to 600 (read/write for root only) for security: run chmod 600 /etc/ssl/private/yourdomain.key at the command line.
Editing the Nginx configuration file
Open your Nginx configuration file (often located at /etc/nginx/sites-available/yourdomain.com or /etc/nginx/nginx.conf) in a text editor. Inside the server block listening on port 443, add the following directives, replacing the paths with your actual file locations: ssl_certificate /etc/ssl/certs/yourdomain.chained.crt; and ssl_certificate_key /etc/ssl/private/yourdomain.key;. Also add ssl_protocols TLSv1.2 TLSv1.3; and ssl_ciphers HIGH:!aNULL:!MD5; to specify modern, secure encryption methods.
Save the configuration file. Then, from the command line, test your configuration for syntax errors: sudo nginx -t. If the output says “syntax is ok” and “test is successful,” reload Nginx without stopping the server: sudo systemctl reload nginx. Visit https://yourdomain.com to confirm the padlock appears. If you see errors, check that file paths are correct and the CA bundle is properly concatenated.
Apache Server Installation
Apache is another common server software used by many hosting providers and dedicated-server deployments. Like Nginx, Apache requires configuration-file editing, but the syntax and file organization differ. Installation typically takes 20–30 minutes for first-time Apache administrators.
Preparing files for Apache
Apache requires that you split the certificate bundle into separate files: one for your server certificate (domain.crt), one for the intermediate certificate(s) (intermediate.crt), and optionally a root certificate. If your CA provided a single bundle, open it in a text editor and copy each certificate section (between —–BEGIN CERTIFICATE—– and —–END CERTIFICATE—–) into a separate .crt file. Save these files and upload them to /etc/ssl/certs/ on your server. Upload your private key to /etc/ssl/private/. Secure the private key: chmod 600 /etc/ssl/private/yourdomain.key.
Configuring the VirtualHost and enabling SSL
Open your Apache VirtualHost configuration file (often in /etc/apache2/sites-available/yourdomain.conf or a similar path). Create a new VirtualHost block for port 443 (HTTPS) with these directives: <VirtualHost *:443>, ServerName yourdomain.com, SSLEngine on, SSLCertificateFile /etc/ssl/certs/domain.crt, SSLCertificateKeyFile /etc/ssl/private/yourdomain.key, and SSLCertificateChainFile /etc/ssl/certs/intermediate.crt. Save the file.
From the command line, enable the SSL module if not already enabled: sudo a2enmod ssl. Enable your site configuration: sudo a2ensite yourdomain. Test Apache’s configuration: sudo apache2ctl -t. If successful, restart Apache: sudo systemctl restart apache2. Visit https://yourdomain.com to verify the certificate is live.
WordPress with Plugins
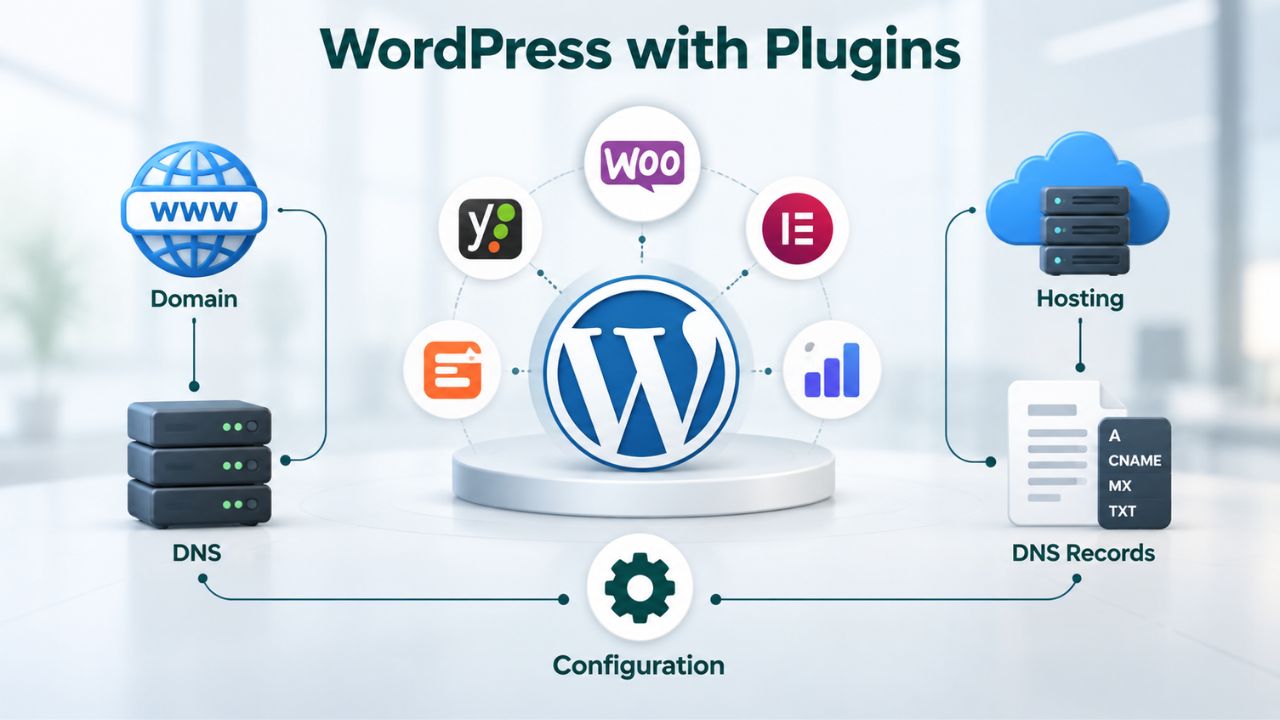
WordPress site owners don’t need command-line access or control-panel file management to install an SSL certificate. Plugins like Auto-Install Free SSL (380+ five-star reviews, 4.9/5 average rating) can automate certificate generation and installation from the WordPress dashboard in minutes. For sites with certificates already purchased, Really Simple SSL can enforce HTTPS site-wide and fix mixed-content errors.
Installing a certificate with a plugin
After installing and activating Auto-Install Free SSL or a similar plugin, navigate to its settings from the WordPress admin menu. The plugin will guide you through domain verification (proving you own the domain via email, DNS record, or file upload) and automatically generate the certificate. Once issued, the plugin typically installs the certificate and automatically configures WordPress to use HTTPS. The entire process takes 5–10 minutes and requires no technical knowledge.
Enforcing HTTPS and fixing mixed content
If you already have a certificate and want to force HTTPS across your site, Really Simple SSL is equally straightforward: install it, activate it, and the plugin will detect your certificate and enable HTTPS redirects. You can also use the plugin’s mixed-content scanner to identify images or scripts still loading over HTTP and fix them automatically.
This approach bypasses the need for server file management and is ideal for site owners uncomfortable with command-line tools or cPanel. Once HTTPS is enforced, all traffic to your site automatically routes through the encrypted connection, protecting visitors from the moment they land on your domain.
Get SSL Installation Support Today
Niya Digital’s SSL Certificates Service offers step-by-step installation guidance across all major hosting platforms, plus ongoing renewal management to keep your site secure and compliant. Whether you need help with cPanel configuration, Nginx setup, or WordPress automation, our installation support ensures your certificate deploys correctly on the first try. Explore Niya Digital’s installation support and certificate options to get started securing your site today.
Understanding Certificate Chains
Your browser doesn’t trust your server certificate directly. Instead, it verifies trust through a chain: your certificate is signed by an intermediate CA, which is signed by a root CA, which is pre-installed in the browser. If any link in this chain is broken or missing, the browser shows a “Certificate not trusted” error even if your certificate is valid and not expired. This is one of the most common post-installation problems, and you can prevent it by including the CA bundle during installation.
How the chain works and why it matters
When a browser connects to your site over HTTPS, your server presents your certificate plus the intermediate certificate(s). The browser verifies your certificate’s signature using the intermediate’s public key, then verifies the intermediate’s signature using the root’s public key. The root certificate is already stored in the browser’s trust store, so if the chain is complete and valid, the browser trusts your site. If the intermediate is missing, the browser cannot complete the chain and displays a warning. This isn’t a problem with your certificate; the CA issued it correctly, but your server is misconfigured.
The solution is to include the full chain when you install it. In cPanel, paste the CA bundle into the CABUNDLE field. In Nginx, download the chained certificate file or concatenate your certificate and intermediate into a single file. In Apache, reference both the certificate and chain files in your VirtualHost configuration. The CA/Browser Forum’s Baseline Requirements specify that CAs must issue certificates in a chain browsers can verify; your job is to keep that chain intact during installation.
Troubleshooting chain errors
If your certificate installation shows “incomplete certificate chain” or “certificate not trusted” errors despite the certificate being valid, the intermediate certificate is almost certainly missing or misconfigured. Test your chain immediately after installation using an online SSL checker like Qualys SSL Labs; the results will clearly identify which certificates in the chain are missing or incorrect. Re-download the CA bundle from your CA’s website, verify it contains all intermediate certificates, and reinstall following your platform’s specific steps. Once the full chain is on your server, the error disappears immediately, and your certificate appears fully trusted across all browsers.
Verification & Testing
Installation isn’t complete until you confirm it worked. The padlock icon is a start, but thorough verification catches subtle misconfigurations before they cause problems.
Quick checks in your browser
Open your site in a web browser and navigate to https://yourdomain.com (not http). Look for the padlock icon next to the URL in the address bar. Click the padlock to view certificate details; you should see your domain name listed and a statement that the certificate is valid. If you see “Not Secure,” a security warning, or an error message, you’ll need to adjust your installation. Open the browser’s developer tools (F12 on most browsers), go to the Console tab, and look for security error messages; these often point to problems like missing intermediate certificates or mixed content.
For a quick second opinion, use an online SSL checker like Qualys SSL Labs or WhyNoPadlock.com. Enter your domain URL, and these tools will scan your certificate configuration, test the chain, and report any issues. If they show a green “A” or “B” rating, your installation is solid. If they report a chain error or protocol warning, use their feedback to adjust your server configuration.
Testing HTTPS redirection
If you’ve configured HTTP-to-HTTPS redirection, test it by visiting http://yourdomain.com (without the S). Your browser should automatically redirect to https://yourdomain.com and display the padlock. If it doesn’t redirect, check your server configuration; you may need to enable a rewrite rule or server directive. Redirection is important because it ensures users always connect securely, even if they type the unsecured URL or click an old link.
Common Installation Errors & Fixes
Even with careful preparation, installation sometimes doesn’t work on the first try. Here are the most common problems and how to fix them.
Mixed content warnings
After installing your certificate, you may see the padlock icon, but with a warning triangle or exclamation mark. This typically means mixed content: the page loads securely over HTTPS, but some resources (images, scripts, stylesheets) are still loading over plain HTTP. Browsers block active mixed content (scripts and stylesheets) and warn about passive mixed content (images).
To fix it, check the browser console (F12 → Console) for warnings listing insecure resources. Update those URLs from http:// to https://. If they’re hard-coded in your site’s HTML, update the source code. If they’re coming from a plugin or theme, update the plugin. Really Simple SSL for WordPress automates this fix by scanning and rewriting mixed-content URLs.
| Common SSL Error | What It Looks Like | Root Cause | How to Fix It |
|---|---|---|---|
| Mixed content warning | Padlock with yellow/orange warning triangle | HTTPS page loads HTTP resources (images, scripts) | Update all HTTP URLs to HTTPS; use Really Simple SSL plugin for WordPress |
| Domain name mismatch | NET::ERR_CERT_COMMON_NAME_INVALID error | Certificate issued for different domain than accessed | Verify certificate covers your exact domain; use wildcard or multi-domain cert for subdomains |
| Incomplete chain error | “Certificate not trusted” in browser | Intermediate certificates missing from server | Download CA bundle from CA; reinstall with complete chain in cPanel/Nginx/Apache |
| Expired certificate | Full-page browser security warning | Certificate validity date has passed | Order renewal immediately; enable automatic renewal to prevent future expirations |
| Self-signed certificate warning | “Your connection is not private” | Certificate not signed by trusted CA | Replace with certificate from trusted CA (GoDaddy/Starfield, Let’s Encrypt, etc.) |
| Wrong private key | Certificate/key mismatch error | Private key doesn’t match certificate | Regenerate CSR and certificate together, or find original key file |
Domain name mismatch
If your certificate is for example.com but you’re accessing www.example.com (or vice versa), you’ll see a “Certificate not trusted” or domain-mismatch error. The certificate must match the domain in the browser’s address bar exactly. Solutions include
(1) installing a certificate for both www and non-www versions (multi-domain/SAN certificate),
(2) using a wildcard certificate (*.example.com) to cover all subdomains, or
(3) setting up a redirect so one version permanently routes to the other.
Check which domain your certificate covers by viewing its details in the browser or pasting it into an SSL checker tool.
Incomplete certificate chain
The “Incomplete certificate chain” error appears when your server configuration is missing the intermediate certificate. DNSimple’s troubleshooting guide explains that browsers need the full chain, from the server certificate through intermediate(s) to the root. Download the intermediate certificate bundle from your CA and reinstall it, making sure it’s in the correct field (CABUNDLE in cPanel, chain file in Nginx/Apache). Test again with an SSL checker to confirm the chain is complete.
Expired certificate
If your certificate has expired, browsers display a full-page security warning and often block access entirely. Check your certificate’s expiration date in the browser details or in your hosting control panel. If expired, order a renewal immediately. Many providers offer automatic renewal; if yours does, ensure it’s enabled so you don’t face this again. Managed SSL services handle renewal automatically, removing the burden of manual tracking.
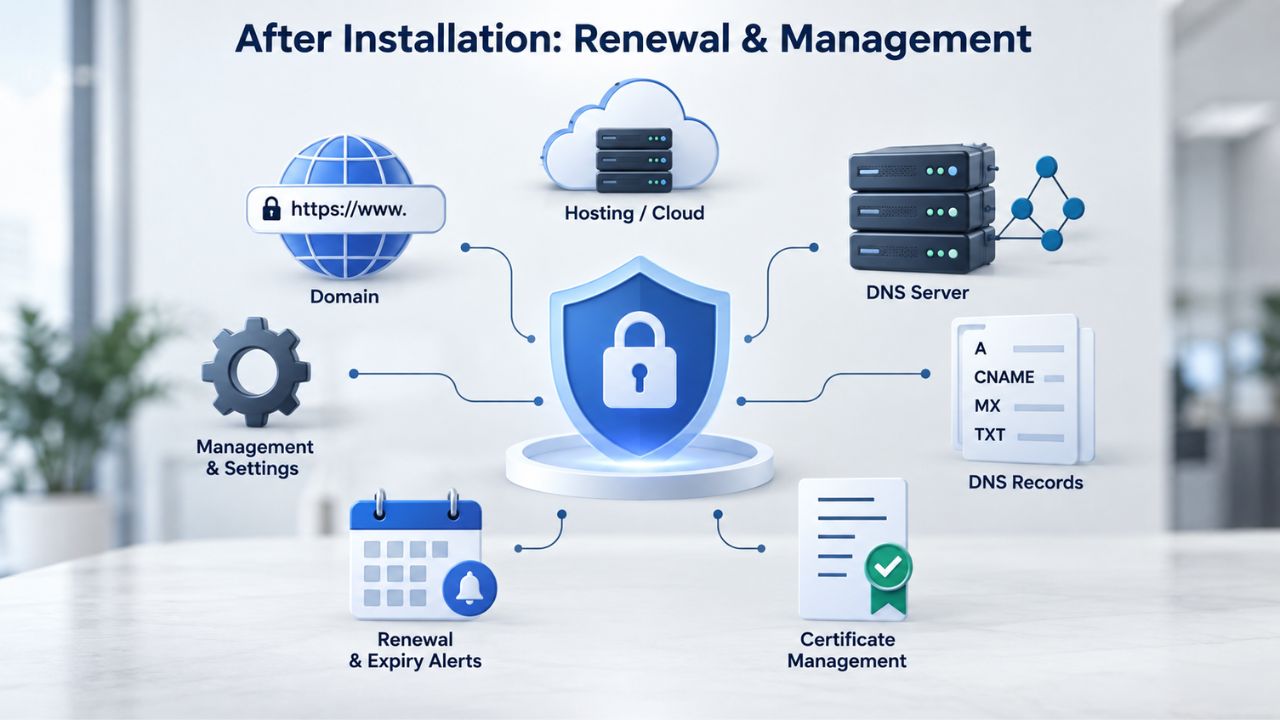
After Installation: Renewal & Management
An SSL certificate typically lasts one year from issuance. Before it expires, you must renew it and reinstall the new certificate on your server. Tracking expiration dates and renewing on time prevents the site from going offline or showing security warnings to visitors.
Monitoring expiration and planning renewal
Most Certificate Authorities send expiration reminders via email 60, 30, and 7 days before the certificate expires. Set calendar reminders, or use your hosting provider’s renewal reminders. Check your hosting control panel or DNS provider’s dashboard; many highlight expiring certificates prominently. Order your renewal at least 30 days before expiration so validation and issuance complete without rushing. If validation takes longer than expected (e.g., for OV or EV certificates), you’ll have a buffer.
Renewal and re-installation process
Renewing an SSL certificate typically works like the original purchase: you provide your domain, complete validation, and receive a new certificate with new files. The installation process is the same as the first install: upload the new certificate files and restart your server. Depending on your hosting provider, renewal might generate a new certificate for the same domain (simplest case) or require you to choose which sites the new certificate covers explicitly.
The old certificate keeps working until it expires; there’s no downtime between uninstalling the old one and installing the new one, as long as you install the new one before the old one expires. For automatic management, managed SSL services handle ordering, validation, installation, and renewal automatically on a schedule, removing the complexity of manual tracking and preventing expiration-related outages.
Secure Your Site with Confidence
Niya Digital’s SSL Certificates Service simplifies installation and renewal across all platforms with step-by-step guidance and ongoing support. Start exploring certificate options and installation resources at Niya Digital to find the right SSL solution for your site.
Frequently Asked Questions
What’s the difference between SSL and TLS?
SSL (Secure Sockets Layer) is the legacy encryption protocol; TLS (Transport Layer Security) is its modern replacement. People use the terms interchangeably because TLS evolved from SSL. New certificates use TLS, but people still call them “SSL certificates” out of habit. Technically, you’re installing a TLS certificate, but the process and purpose are identical.
How long does SSL installation take?
After your certificate is issued, installation takes 10–30 minutes depending on your hosting environment. cPanel is fastest (10–15 minutes); server-based installations (Nginx, Apache) take longer if you’re new to configuration files. WordPress plugins can complete installation in 5 minutes or less.
Do I need to reinstall my certificate if I switch hosting providers?
Yes. Your certificate is tied to your private key, which stays on your original server. When you switch hosts, you’ll need to transfer your domain’s DNS records, but the SSL certificate remains on the old server. On your new host, you’ll order and install a new certificate (or transfer the existing one if the CA supports it). Either way, you’ll need to install it on the new server.
Can I install an SSL certificate on a subdomain?
Yes, if your certificate covers that subdomain. A standard single-domain certificate covers only example.com or www.example.com. To cover subdomains like api.example.com or blog.example.com, you need either a wildcard certificate (*.example.com) or a multi-domain/SAN certificate listing each subdomain explicitly. When you purchase it, specify which subdomains you need.
What happens if my certificate expires while my site is live?
Browsers will show a full-page security warning, often blocking access. Visitors will see “Your connection is not private” and may abandon your site. Email reminders from your CA should alert you weeks in advance. Still, if expiration catches you by surprise, you can order an emergency renewal; most CAs will validate and issue quickly. To prevent this, set a calendar reminder or enable automatic renewal through your provider.
Is a padlock icon the same as a secure site?
The padlock means your data is encrypted in transit and the domain name matches the certificate. But encryption alone doesn’t guarantee the site is free from malware, phishing, or scams. A padlock is a necessary building block of trust, not a complete security guarantee. Follow good security practices: keep your software updated, monitor for breaches, and stay aware of what data you’re sharing.
Can I move an SSL certificate from one domain to another?
No. An SSL certificate is tied to a specific domain and cannot be transferred to a different domain. However, if your certificate is a wildcard or multi-domain type, it already covers multiple domains, and you can install it on any of those domains. To cover a new domain, you’ll need a new certificate.
Why does my site still show “Not Secure” after installation?
Check these common causes: (1) the CA bundle/intermediate certificate is missing; install it; (2) domain name mismatch; verify your certificate covers the exact domain you’re accessing; (3) old browser cache; clear cache and reload; (4) redirection loop; check HTTP-to-HTTPS redirect configuration; (5) expired certificate; check expiration date. Use an online SSL checker to diagnose the specific issue.
Do I need an EV certificate, or is DV enough?
Domain Validation (DV) certificates are sufficient for most sites and are issued in minutes. They encrypt data and remove the “Not Secure” warning. Organization Validation (OV) and Extended Validation (EV) add visible trust signals (like a company name in the address bar for EV). E-commerce sites and financial institutions typically use OV or EV; blogs, portfolios, and small business sites often use DV.
Can I test SSL before pointing my domain to the new host?
Yes. Most hosting providers give you a temporary domain (like yourdomain.hostingprovider.com) to test before your real domain points to them. Install and test your SSL certificate on this temporary domain first. Once everything works, update your domain’s DNS records to point to the new host, and your site goes live with SSL already active.
What’s a Certificate Signing Request (CSR)?
A CSR is a file containing your domain name, organization info, and a public key. You generate it on your server before ordering a certificate, then submit it to the CA. The CA uses it to issue your certificate and validate that you control the server. Your private key (generated with the CSR) stays on your server; never share it.
How often should I renew my SSL certificate?
Standard certificates last one year. Renew annually before expiration. Some free options (like Let’s Encrypt) allow shorter validity periods (90 days) but automate renewal, so you don’t have to think about it. Plan renewal at least one month before expiration to ensure validation completes without rushing.
Is a wildcard certificate cheaper than buying separate certificates for each subdomain?
Typically, yes. A wildcard certificate (*.example.com) covers unlimited subdomains for one fee, often less than multiple individual certificates. If you have many subdomains, a wildcard certificate is more economical and easier to manage than tracking and renewing multiple certificates.
What if my hosting provider doesn’t offer cPanel or a control panel?
If you have direct server access, you’ll install certificates the way Nginx and Apache administrators do: by editing configuration files and restarting services from the command line. If your hosting is fully managed and you don’t have server access, ask your provider’s support team to install the certificate for you; most can do it quickly.
Can I reissue my certificate if I make a mistake during installation?
Most CAs allow unlimited reissues (certificate plans vary by tier). If you misconfigure the installation, don’t panic, order a reissue, download the certificate again, and reinstall. Reissues are typically free and issued immediately.
Glossary
- SSL/TLS: Encryption protocols that secure data transmitted between a browser and web server. TLS is the current standard; SSL is its legacy predecessor. Both terms are used interchangeably when referring to certificates.
- Certificate Authority (CA): A trusted organization authorized to issue and validate digital certificates. Examples include Let’s Encrypt, DigiCert, and Sectigo. Niya Digital resells certificates issued by GoDaddy and Starfield Technologies.
- Domain Validation (DV): The fastest and simplest validation level, requiring only proof of domain ownership. DV certificates are issued within minutes and suit most websites.
- Organization Validation (OV): A validation level that verifies both domain ownership and business legitimacy. Takes 1–3 business days and displays the organization name in some browsers.
- Certificate Chain (Chain of Trust): The ordered list of certificates linking your server certificate back to a trusted root Certificate Authority via intermediate certificates. Browsers require a complete chain to verify trust.